
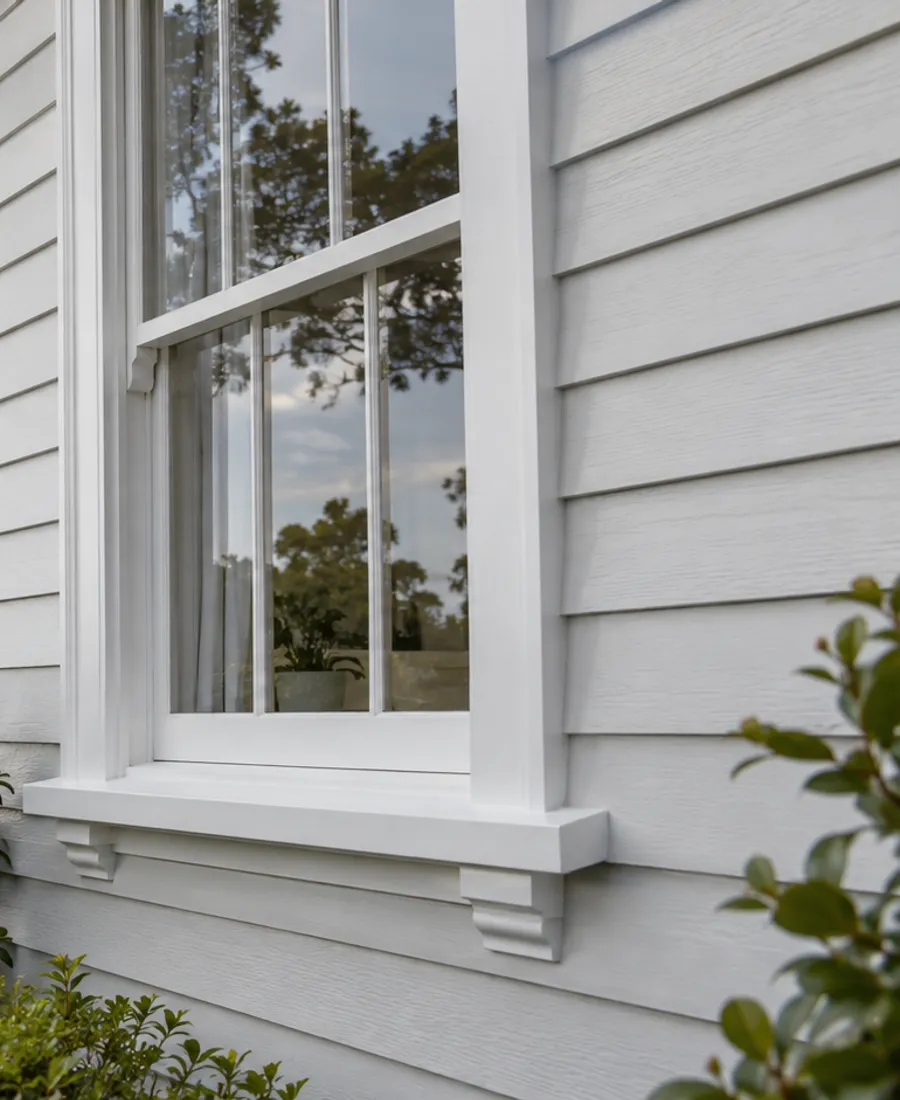
Corner boards
Boards butt against the corner board along its whole height, so its edges and the end grain behind them need sealing.
Auckland Roof Painting Pros
Thoughtful preparation. A considered finish. Start with a conversation about your property.
Start with the surface
Our Auckland Weatherboard Painting service starts with the property and the surfaces involved. For weatherboard painting, the important considerations include timber condition, board edges and weather-exposed joints. Understanding the existing material, coating and condition helps define the right preparation before a finish is selected. Tell us about visible wear, previous work and any areas that need particular attention.
A useful proposal should set out the surfaces included, preparation, any agreed repairs, the coating system and access arrangements. Timing also needs to allow for suitable application and drying conditions. Share your address, photographs and preferred timing through the enquiry form, or call to discuss the project. We can then clarify the details that need assessment and the next step for your property.
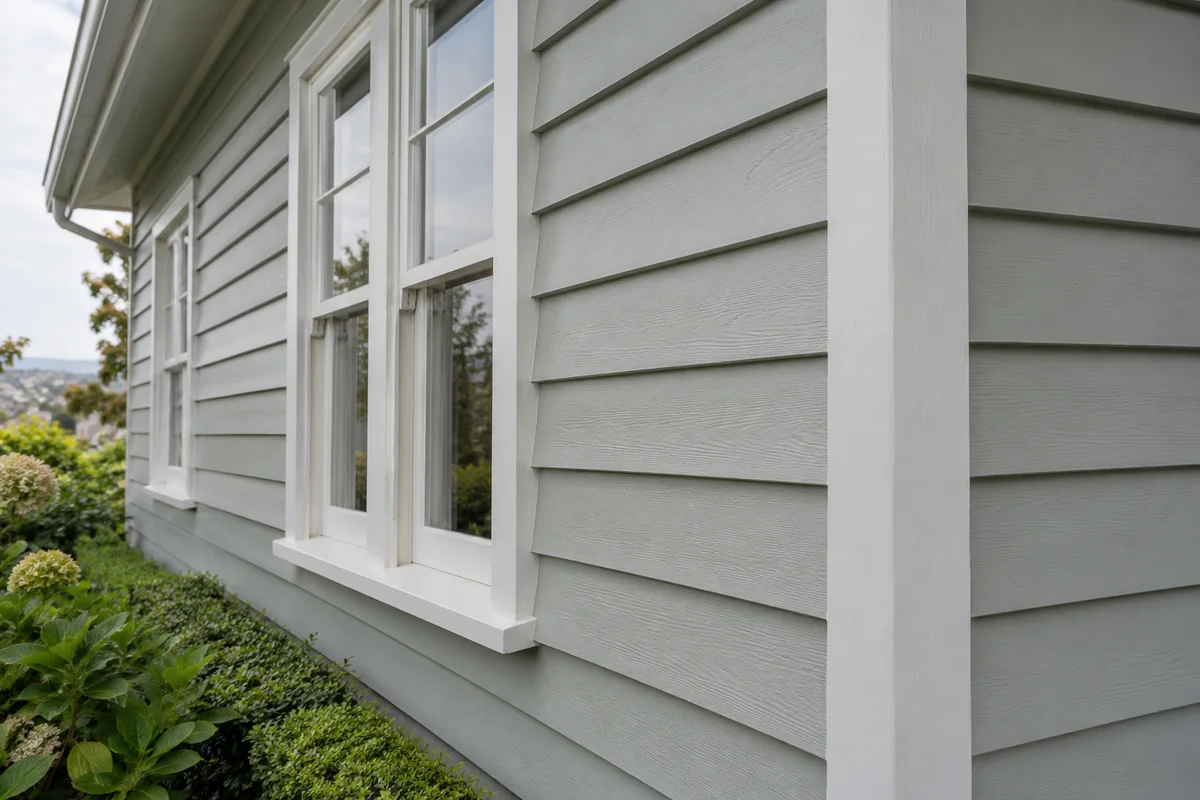
Lapped cladding
Weatherboards are laid horizontally, each board overlapping the one below, so water runs down the face and drips clear at the lower edge. That layout sheds water well, but it relies on the laps staying open enough to drain and on cut ends staying sealed. Paint that bridges a joint or skips a bare end starts the next problem.
Cladding first
Paint is the visible layer, but the timber underneath decides how long it holds. A good brief names the soft boards, split ends and open joints before it mentions colour, and a good quote says how each one will be handled.
Describe your boardsBeside the boards
Weatherboards are rarely painted alone, and the surfaces around them change what the plan has to include.
Walls, soffits and joinery usually share one coating plan, so boards are best priced as part of the whole elevation.
Where old coatings have failed in layers, removal comes before priming, and the method has to respect the board profile.
Some joints suit filling and others need to stay open for drainage and movement, and telling them apart takes judgement.
Sashes and surrounds meet the boards at some of the most exposed corners of the cladding.
Corner boards, fascias and architraves are best listed apart from the boards so each gets its own preparation.
Board by board
The order matters more than the pace. Each stage sets up the one after it.
Soft, split or lifting boards are located and marked, so repairs are priced at the start and not discovered halfway through.
Damaged boards are mended or replaced, and cut ends are sealed before any coating covers them.
Dirt and loose paint come off with the grain, not across it, and bare timber is primed before a topcoat goes near it.
Topcoats go on one elevation at a time, so laps, corners and joins blend and do not show the stop-start of the job.
Workbench view
The preparation steps and decisions behind a clean weatherboard finish.
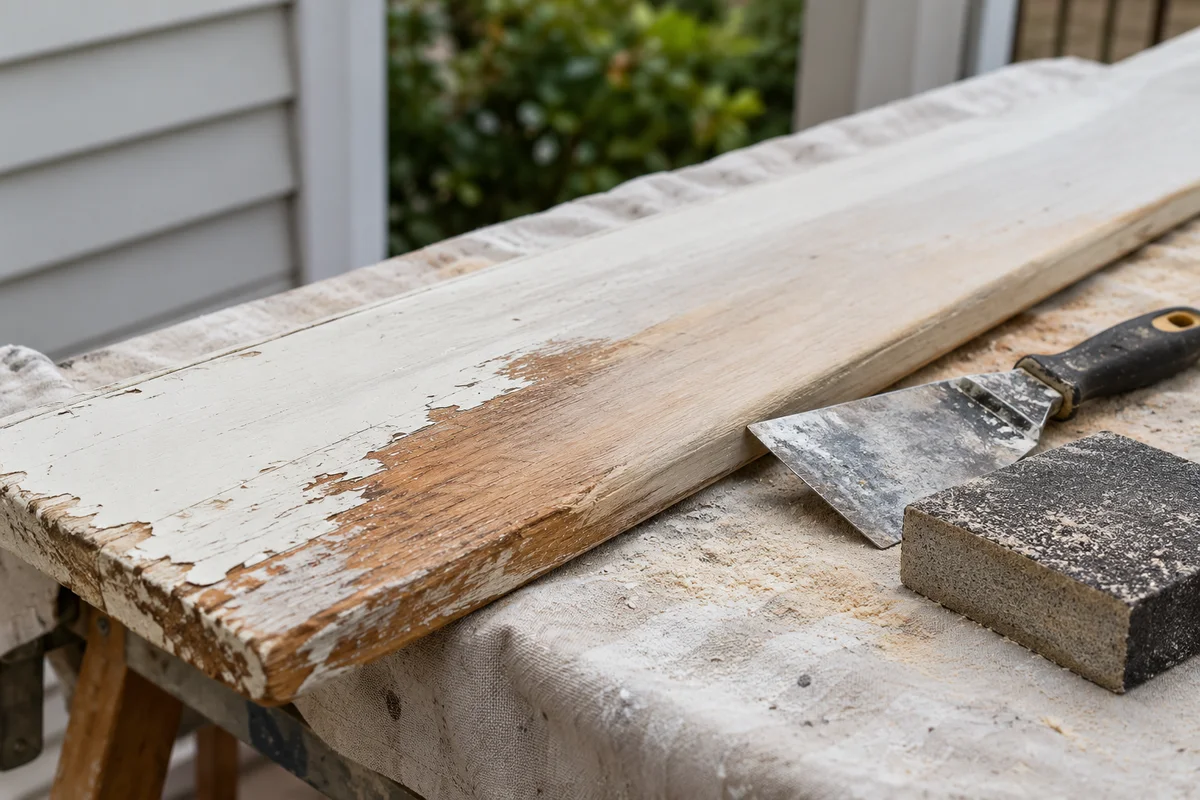
Failing paint taken back to sound timber
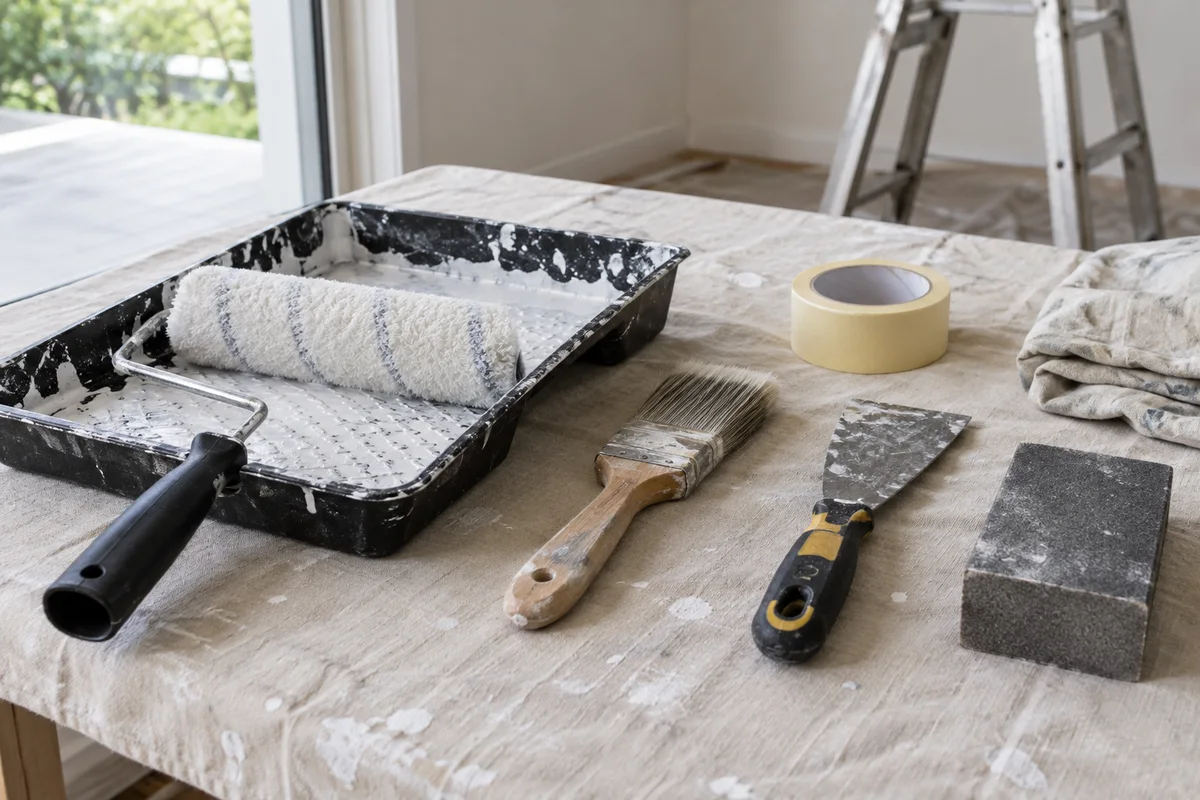
Hand tools that follow the grain of each board
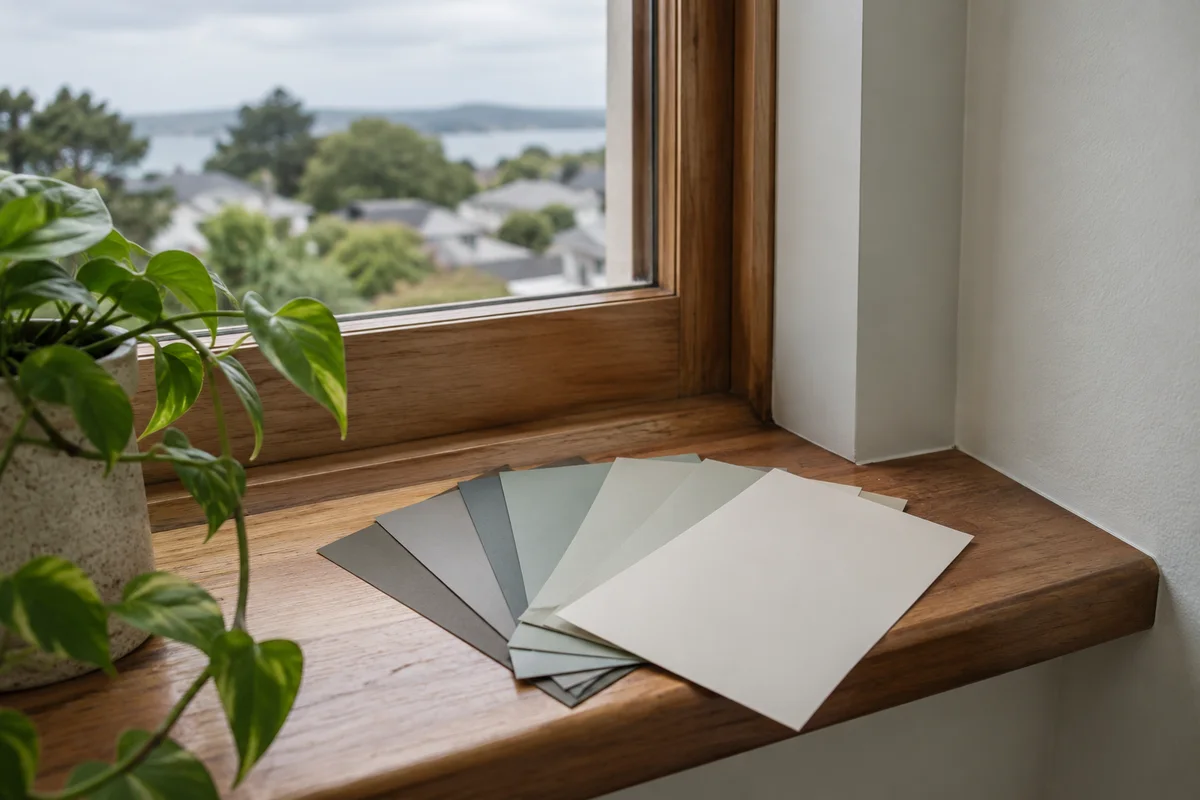
Sample colours tried on the boards themselves
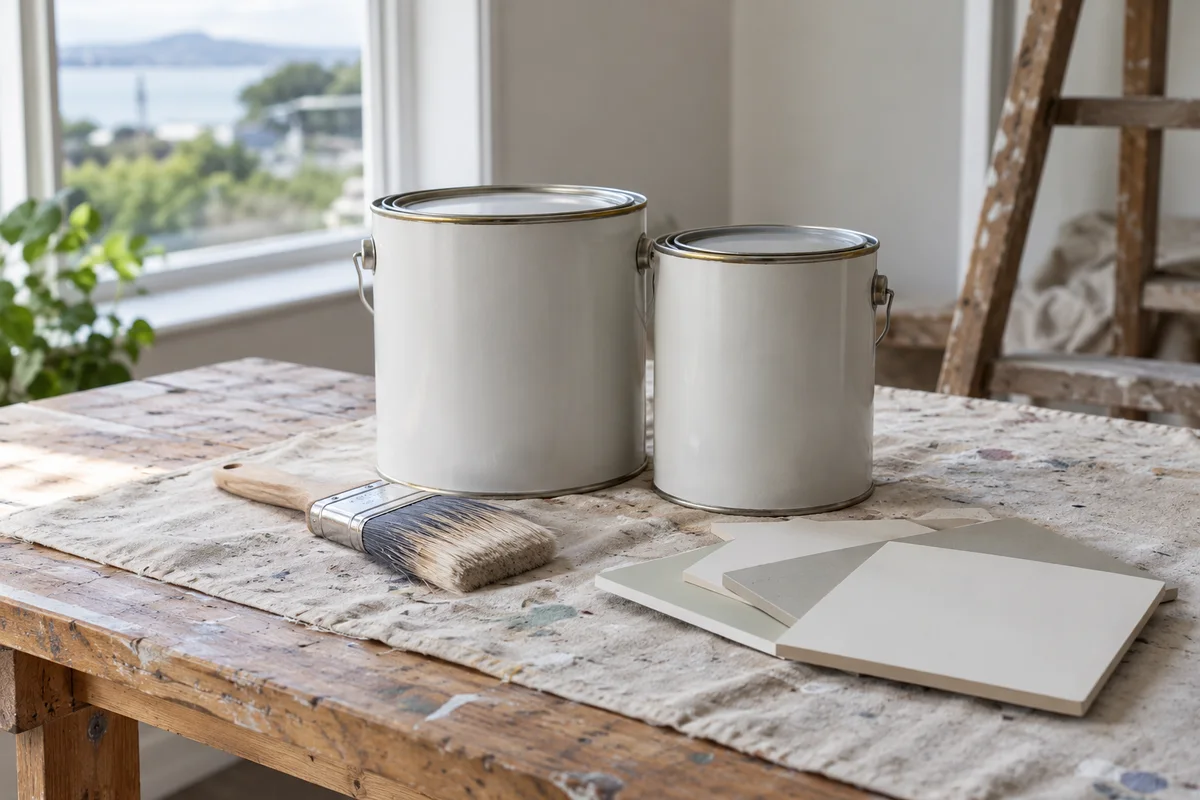
Primer and topcoat recorded as one system
Quote preparation
Notes and photos taken from the ground make quotes easier to compare line by line.
Junctions and corners
A wall of boards is simple. The places where it meets something else are where a quote should get specific.
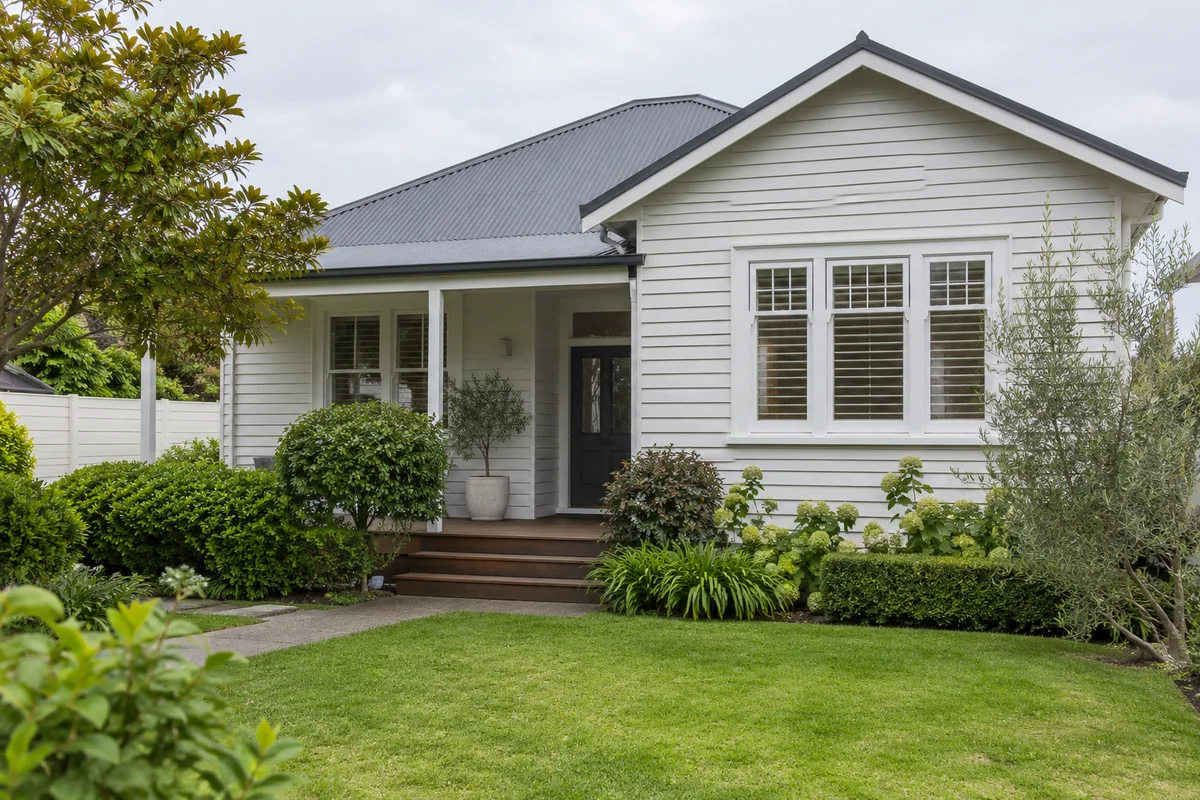
Boards butt against the corner board along its whole height, so its edges and the end grain behind them need sealing.
Sills and the joints around windows collect run-off from the wall above. Keep them clear of heavy paint build-up so water can still escape.
The lowest boards pick up splashback and stay damp longest. Soil, mulch or paving built up against them makes that worse.
Boards under the eaves meet fascias and soffits, so decide whether those are done in the same visit and in what colour.
Weatherboard enquiry
Tell us the profile if you know it, where the paint is failing and which elevations worry you. Photos from the ground and your address are enough to start the conversation.