
Walls
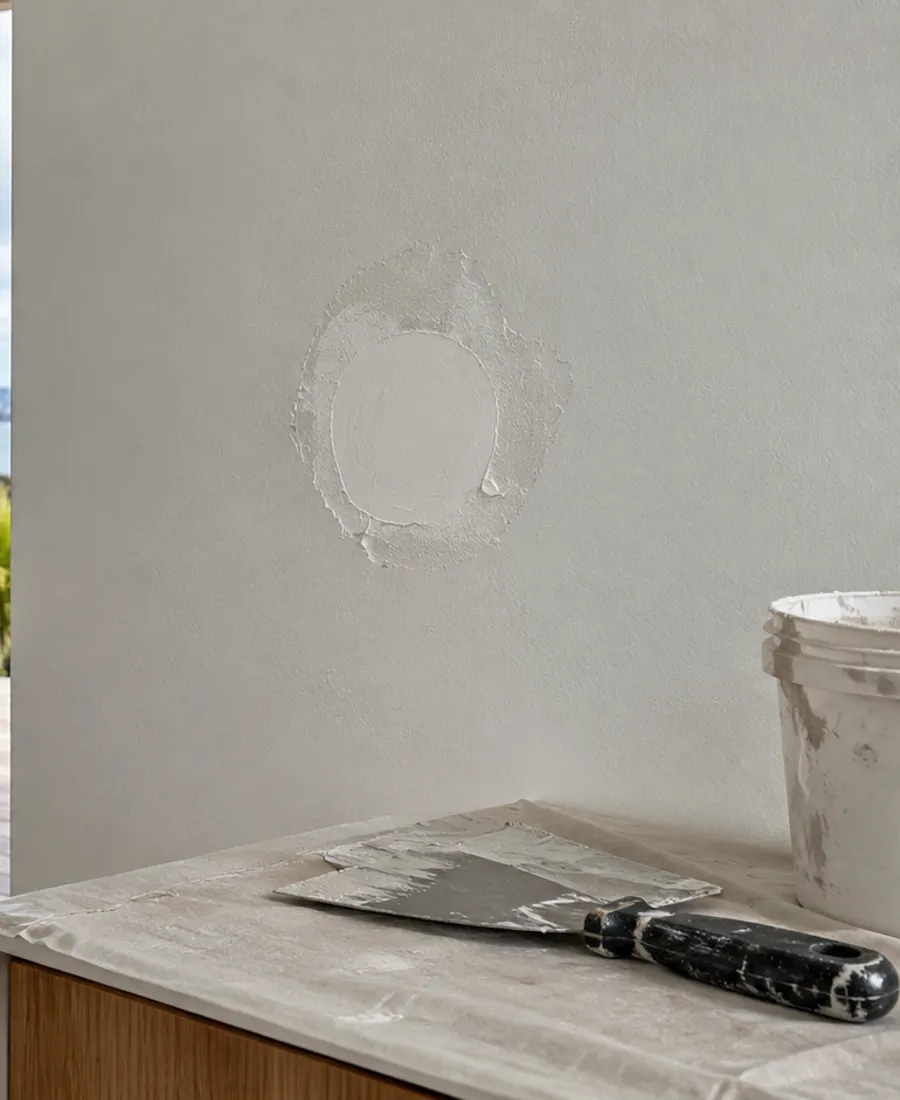
Smooth plaster walls
Light skims across a flat wall and shows every ridge. The patch must be sanded dead level, and the paint usually needs to cover a wider area than the filler.
Auckland Roof Painting Pros
Thoughtful preparation. A considered finish. Start with a conversation about your property.
Start with the surface
Our Auckland Patching service starts with the property and the surfaces involved. For patching, the important considerations include small holes, dents and the finish around repaired areas. Understanding the existing material, coating and condition helps define the right preparation before a finish is selected. Tell us about visible wear, previous work and any areas that need particular attention.
A useful proposal should set out the surfaces included, preparation, any agreed repairs, the coating system and access arrangements. Timing also needs to allow for suitable application and drying conditions. Share your address, photographs and preferred timing through the enquiry form, or call to discuss the project. We can then clarify the details that need assessment and the next step for your property.

Order of repair
The sequence matters more than any single product. A skipped stage is usually how a repair ends up visible once the paint is dry.
Press around the damage. Soft, crumbling or bubbling material points to moisture or movement, and that gets looked at before anything is filled. Sound material can go straight to repair.
Loose crumbs and raised rims come off so the filler has something firm to grip. Deeper dents are built up in thin layers rather than one thick fill, which tends to shrink and crack.
The filler is sanded back until your fingertips cannot find where the repair ends and the wall begins. Even a faint raised ring will show once it is painted.
Filler drinks paint faster than the surface around it. A sealing coat over the patch evens out how it takes the topcoat, so it does not dry duller than its neighbours.
On a textured wall or ceiling the pattern is recreated before painting. The topcoat then runs past the patch to a natural break, in the same sheen as the surface around it.
Patch list
Walk through each room and note every hole, dent and scuff, and whether it sits on a wall, a ceiling or woodwork. A short list with a close-up and a wider photo of each mark is enough to start the conversation.
Damage by type
Marks that look alike can need quite different handling. This is the general pattern, not a substitute for looking at your wall.
| Aspect | Usual approach | Where it can still show |
|---|---|---|
| Nail and picture-hook holes | One small fill, a light sand and a spot seal | A dull dot if the sealing step is skipped |
| Door-handle dents | Built up in thin layers and sanded level with the wall | A shallow dip that appears in side light |
| Wall-anchor and screw holes | Cleaned out, then filled in stages and checked for a loose surround | Hollows or hairline cracks if filled in a single thick pass |
| Larger openings and cut-outs | May need a backing or a plaster repair before any filler goes on | An outline of the edge through the paint if it is not feathered |
| Scuffs and gouges on woodwork | Filled, sanded smooth and repainted across the whole face | Glossier finishes reveal every ridge and brush mark |
Usual suspects
Most patch lists cluster in the same few places. Walk the property with these in mind.
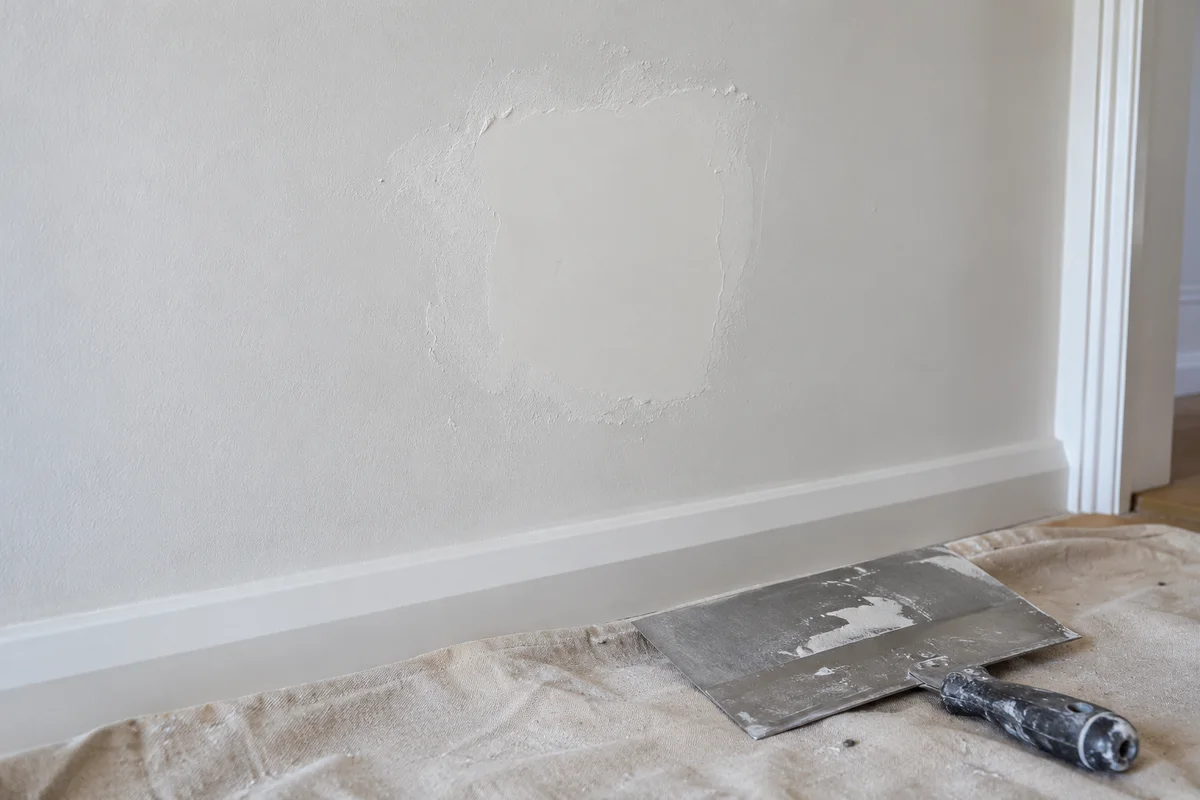
Wall fixings left after pictures and shelves come down

Door jambs knocked by handles, trolleys and furniture
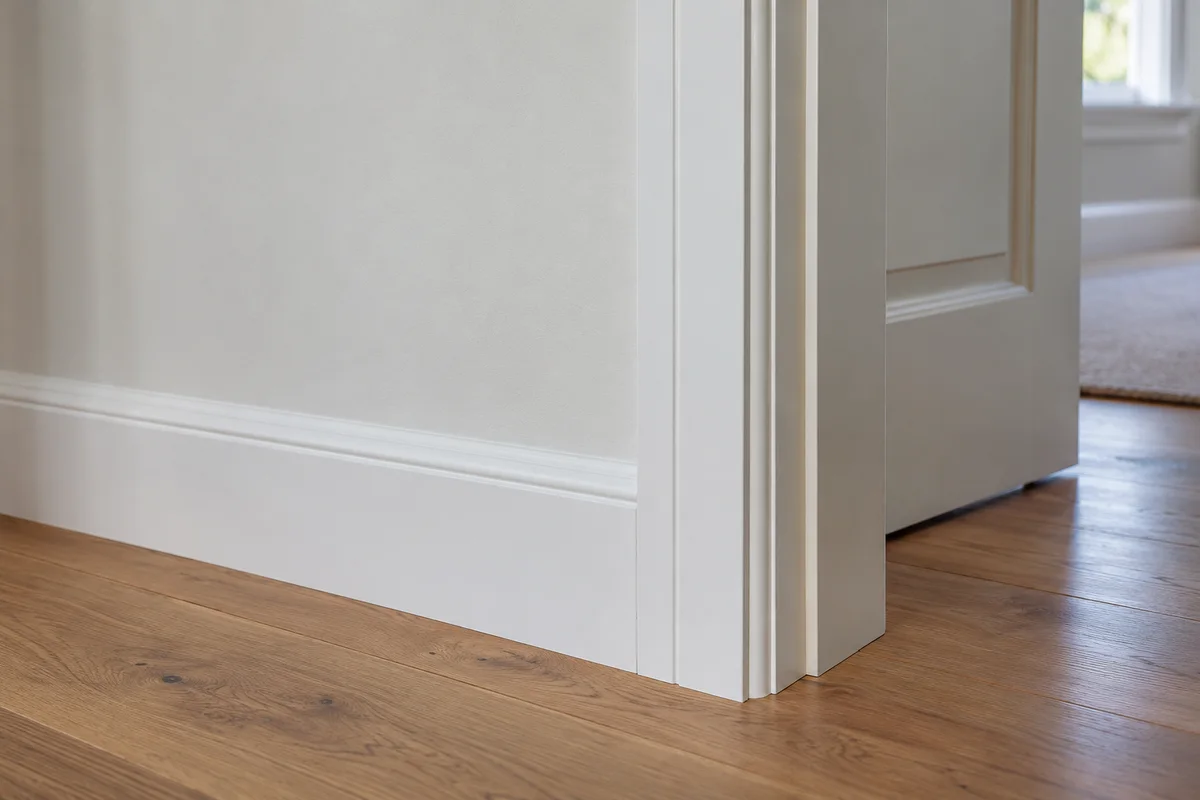
Skirting scuffs and gouges at floor level

Window frames with old fixing and catch holes
Blending the finish
The repair is only half the job. How it blends depends on what the surface around it looks and feels like.
Light skims across a flat wall and shows every ridge. The patch must be sanded dead level, and the paint usually needs to cover a wider area than the filler.
A smooth patch in a textured ceiling stands out like a bald spot. The pattern has to be rebuilt by hand or with a product, ideally tried first on an offcut.
Semi-gloss and gloss show dents and sanding scratches more than flat paint. Repair, then recoat the full face or rail up to a natural edge.
Faded, chalky or yellowed paint seldom matches a fresh coat of the same colour. A wall may need repainting corner to corner to look even.
A change in paint hides best at an internal corner, a cornice or a door frame, and worst in the middle of an open wall. Finish lines are planned for that.
Beyond the patch
Small fills often come with other preparation. These pages cover the neighbouring jobs.
Holes too big for filler alone, or damage that needs a backing and a proper plaster repair.
Thin openings along trim and corners behave differently from holes and need a flexible product.
Plasterboard joins and fixing marks decide how a patched wall looks once the topcoat goes on.
Dented skirting and architraves need their own fill, sanding and gloss recoat.
The sealer and sheen chosen for a patch decide whether it blends or flashes.
Small fixes first
Send photos of the marks and say what the wall or ceiling is made of. We can talk through what needs filling, what needs a closer look and how the repaint should blend.