
Auckland Roof Painting Pros
Auckland Plaster Repairs
Thoughtful preparation. A considered finish. Start with a conversation about your property.
Start with the surface
Plaster Repairs in Auckland
Our Auckland Plaster Repairs service starts with the property and the surfaces involved. For plaster repairs, the important considerations include plasterboard damage, cracking and paint-ready surface preparation. Understanding the existing material, coating and condition helps define the right preparation before a finish is selected. Tell us about visible wear, previous work and any areas that need particular attention.
A useful proposal should set out the surfaces included, preparation, any agreed repairs, the coating system and access arrangements. Timing also needs to allow for suitable application and drying conditions. Share your address, photographs and preferred timing through the enquiry form, or call to discuss the project. We can then clarify the details that need assessment and the next step for your property.
Cracks and stains
Find the cause before you fill
A hairline crack, a bubbling patch, a brown ring on a ceiling and a dent from a door handle are four different problems. Only the last is simply cosmetic. The others can be signs of movement or water, and a repair over an active cause will usually come back.
Look at when the damage appeared and whether it follows rain, showers or a recent repair. Photograph it in daylight so the pattern can be assessed before filler is ordered.
- Soft-edged stains can point to water
- Cracks that reopen suggest movement
- Photograph before and after any repair
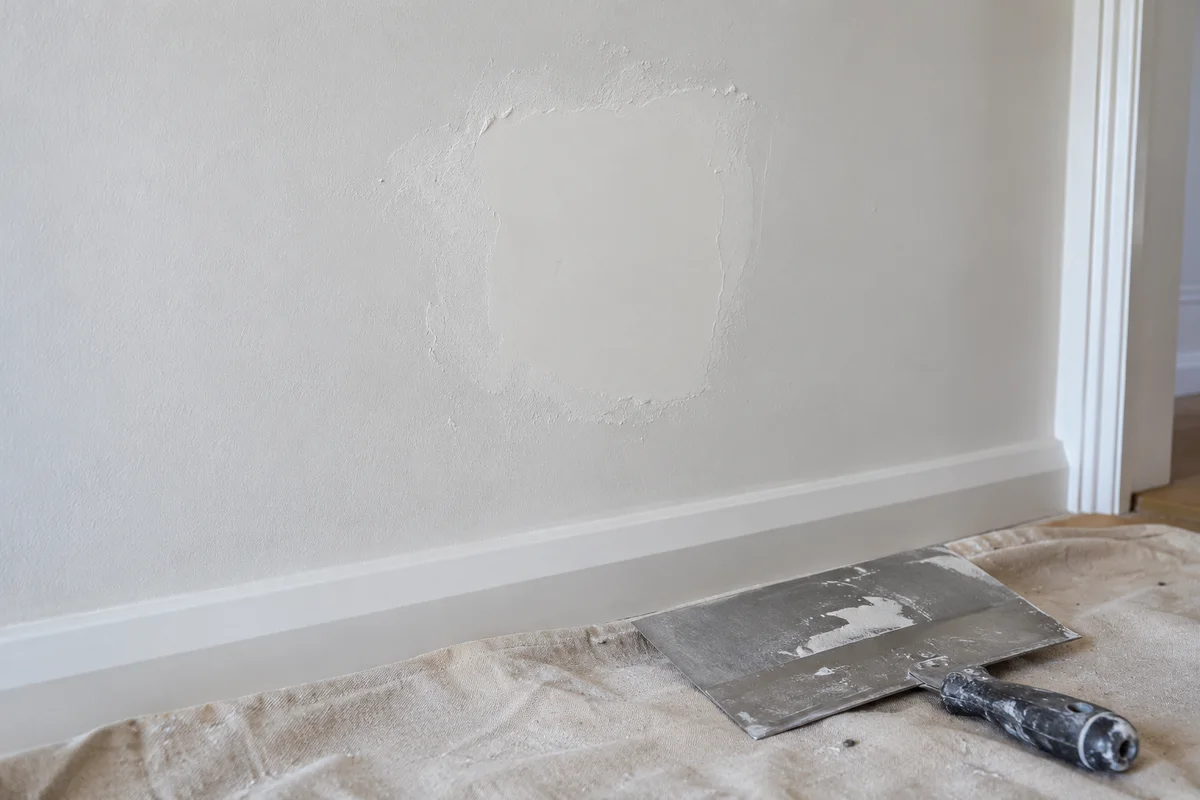
Repair sequence
How a repair is built up
A plaster repair is several small steps done in order. Skipping one shows later.
-
Trace the source
Water, movement and impact each leave a different mark. The cause is dealt with by the right trade before the wall is touched.
-
Cut out what is loose
Crumbling plaster, lifting paint and damaged board edges are removed back to something firm. Larger holes may need backing or a new piece of board.
-
Fill in thin stages
Compound is applied in layers and left to set between visits. Thick single passes tend to shrink, crack or sand unevenly.
-
Sand, seal and recoat
The repair is sanded flush, sealed and painted. Dust is cleaned off first so the sealer can bond.

Repair and finish
Related work around a repaired wall
A repair is rarely the end of the job. These pages cover what comes before and after.
Patching
Small dents, nail holes and screw heads are a lighter job than a damaged sheet or cracked plaster.
Gap Filling
Gaps where walls meet ceilings, skirting or frames can look like cracks but are filled differently.
Paint Stripping & Surface Preparation
Flaking or blistering paint over damp plaster needs the cause assessed before the surface is prepared.
Interior House Painting
A repaired wall is usually repainted with the rest of the room so the sheen matches.
Colour Consultation
Matching existing colour to a repaired area is easier with a sample under the room light.
Repair principle
A filled crack that returns is telling you the cause was never fixed.
Filler and paint hide damage; they do not stop it. Water, movement or poor fixing needs dealing with first, or the same line will reappear.
Plastering words
Plastering words you will hear
A few trade terms turn up in most repair quotes.
- Feathering
- Spreading compound thinly beyond the repair and sanding the edge until it disappears into the surrounding wall.
- Jointing compound
- The soft filler used over seams, screws and repairs. It is sanded smooth once it has set.
- Movement crack
- A crack that opens and closes with the building. It tends to return unless the movement is dealt with.
- Sealer
- A coating that evens out how the wall absorbs paint, so a repair does not dry duller than the area around it.
- Flashing
- A dull or shiny patch where a repaired area absorbs and reflects differently from the rest of the wall.
Repair brief
Photos and facts that help a quote
A repair is easier to scope when the damage has been described properly.
- Photos in daylight, plus one with a torch held low across the damage.
- When it first appeared, and whether it follows rain or showers.
- Any previous repair at the same spot, and whether the damage returned.
- Which room and wall, and whether a bathroom or roof is directly above.
- The paint colour name, or a spare tin, if you want the repair to match.
Cracks and damage
Show us the crack
Send photos of the damaged area, tell us when it appeared and whether it has been repaired before. We can then talk through what needs assessing.