
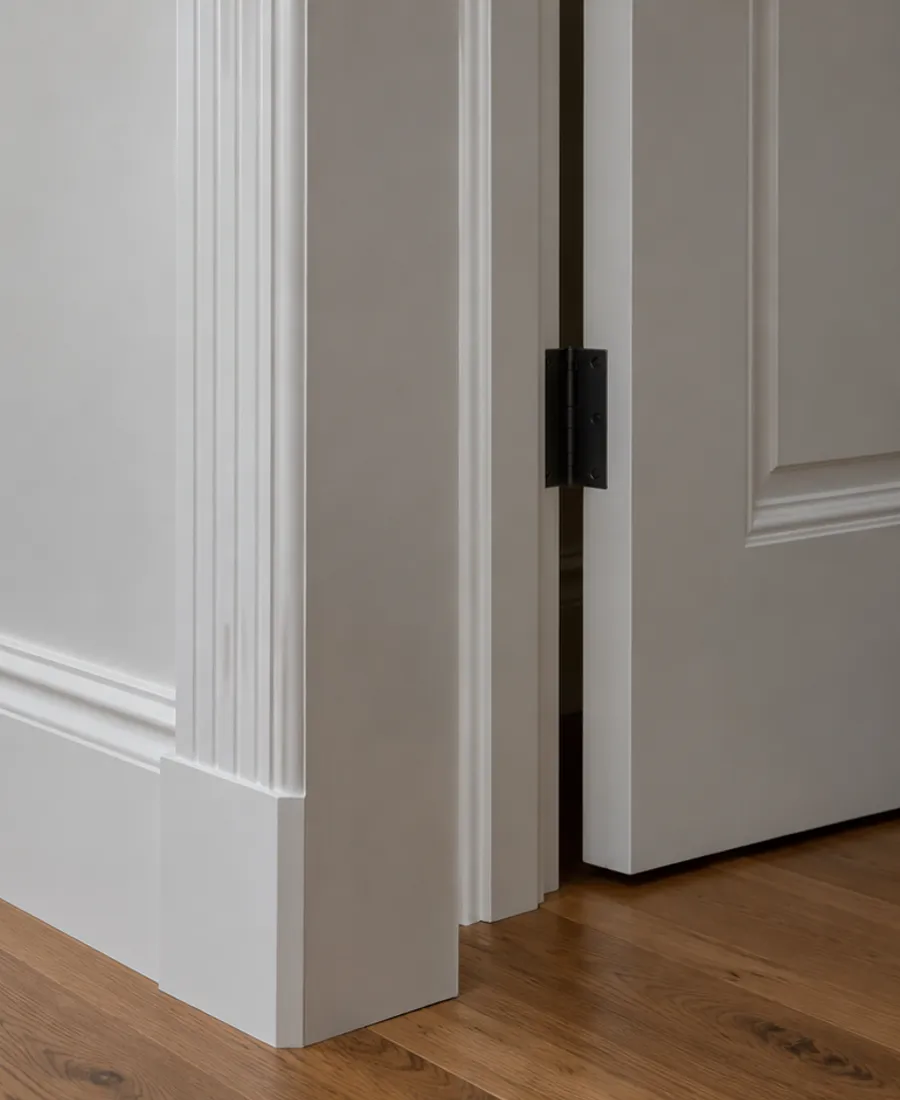
Open lines at the joints
Thin cracks along the top of a skirting or in a mitred corner mean filler or caulk has split. Paint over them and the line returns.
Auckland Roof Painting Pros
Thoughtful preparation. A considered finish. Start with a conversation about your property.
Start with the surface
Our Auckland Trim Painting service starts with the property and the surfaces involved. For trim painting, the important considerations include skirting boards, architraves and detailed junctions. Understanding the existing material, coating and condition helps define the right preparation before a finish is selected. Tell us about visible wear, previous work and any areas that need particular attention.
A useful proposal should set out the surfaces included, preparation, any agreed repairs, the coating system and access arrangements. Timing also needs to allow for suitable application and drying conditions. Share your address, photographs and preferred timing through the enquiry form, or call to discuss the project. We can then clarify the details that need assessment and the next step for your property.
Worn skirting
Trim takes the knocks in a room, so it often ages faster than the walls above it. These are the signs worth photographing.
Thin cracks along the top of a skirting or in a mitred corner mean filler or caulk has split. Paint over them and the line returns.
Old gloss can yellow with age and chip at the edges. The chips usually show bare timber or an older colour underneath.
Vacuum heads, furniture and shoes mark the lower few centimetres first. Scuffs that will not wipe off need more than a clean.
Skirtings near wet areas, a leaking window or an outside door can swell or soften. The moisture cause needs finding before any repainting.
A raised line of old paint along the wall edge points to previous cutting-in that was done heavily. It can be smoothed before the next coat.
Sheen on trim
Sheen decides how trim looks under light and how it copes with knocks. Higher sheens wipe clean and make profiles stand out, but they also show every dent and brush mark. Lower sheens soften the surface and hide small flaws, but they can mark more easily. A sample beside the wall finish, in the room, answers it best.
Compare sheen choices in paint selectionReflects more light, wipes clean easily and gives crisp profiles. It also shows dents and uneven preparation.
A middle path that many homes choose. It softens reflection while still being practical to clean.
Hides minor flaws well and reads quietly against the wall, though it can show scuffs sooner.
Trim a step shinier than the wall looks deliberate. Matching them can make a room feel flatter.
Neighbouring surfaces
Trim is painted last or first depending on the job. These pages cover the surfaces it touches.
Architraves and door linings are trim too, so colour and sheen should be decided with the door itself.
Window reveals and internal architraves meet the sill and glass, where a clean edge matters most.
Gaps along the top of skirting and in mitred joints are filled before painting so lines do not reopen.
The wall above the skirting is usually coated at the same visit, so the cut-in line is shared.
Trim is often scheduled with ceilings and walls, with floors and furniture protected throughout.
Skirting profile
A skirting board touches the wall, the floor, the corners and the door lining. Each junction needs its own care.
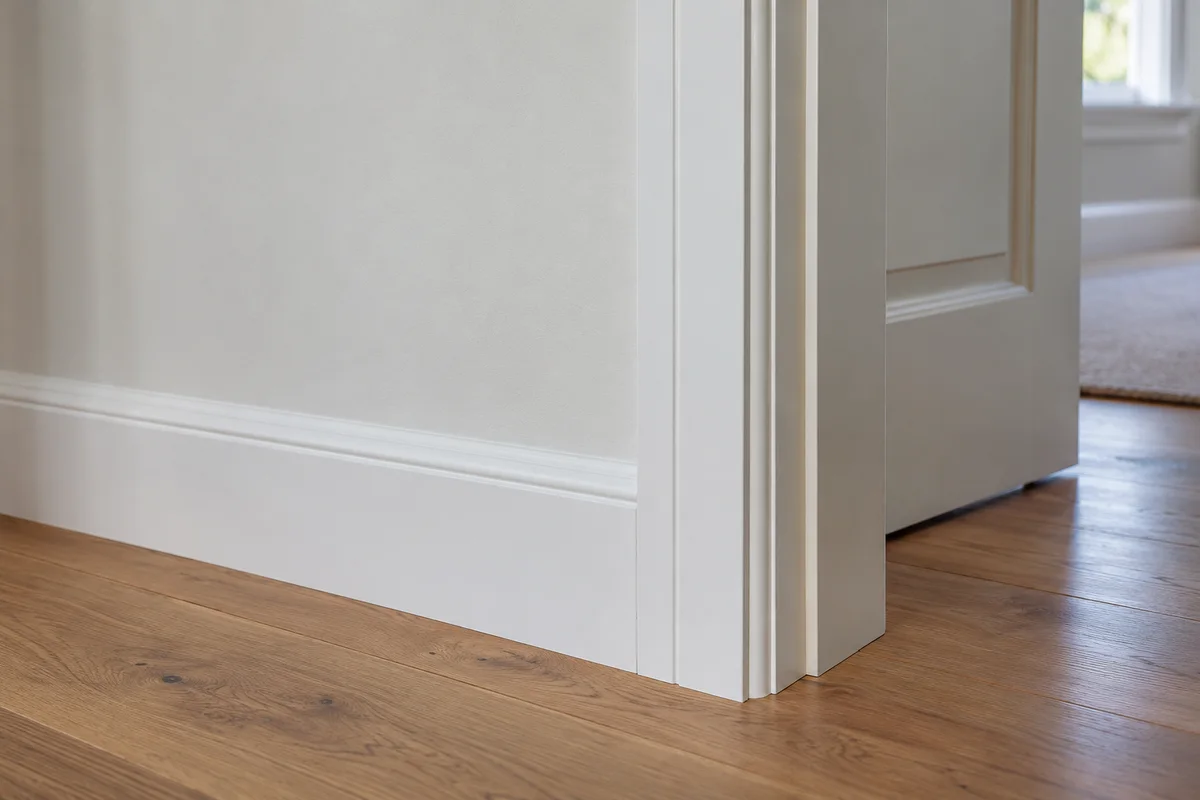
The most visible line in the room. It is cut in by hand, and any gap here should be filled first.
Floors and carpet edges need protecting. If new flooring is planned, say so before dates are set.
Joints open as timber moves. Fill, sand and re-prime them rather than painting over the movement.
The trim around the opening meets door, wall and skirting at once. It is where a rushed finish is most obvious.
Cutting in
A crisp edge along trim is mostly preparation and a steady hand. Ask which of these stages are included.
Dents are filled, scuffs sanded and glossy old paint dulled. Floors, carpet edges and furniture are covered so the work can be done carefully.
Primer goes on bare patches, then the topcoat. A good line is cut by hand with thin coats rather than one heavy pass.
Edges are inspected from a normal standing position and touched up. Masking comes off and floors are cleaned.
Trim principle
Fine lines and low edges are seen from close range every day. Time spent filling, sanding and priming along them is usually what separates a tidy job from one that looks painted over.
Skirting and architrave list
Tell us how many rooms are involved, whether doors and windows have architraves to be painted, the current finish and any flooring work planned. Photos of the worst edges help.