
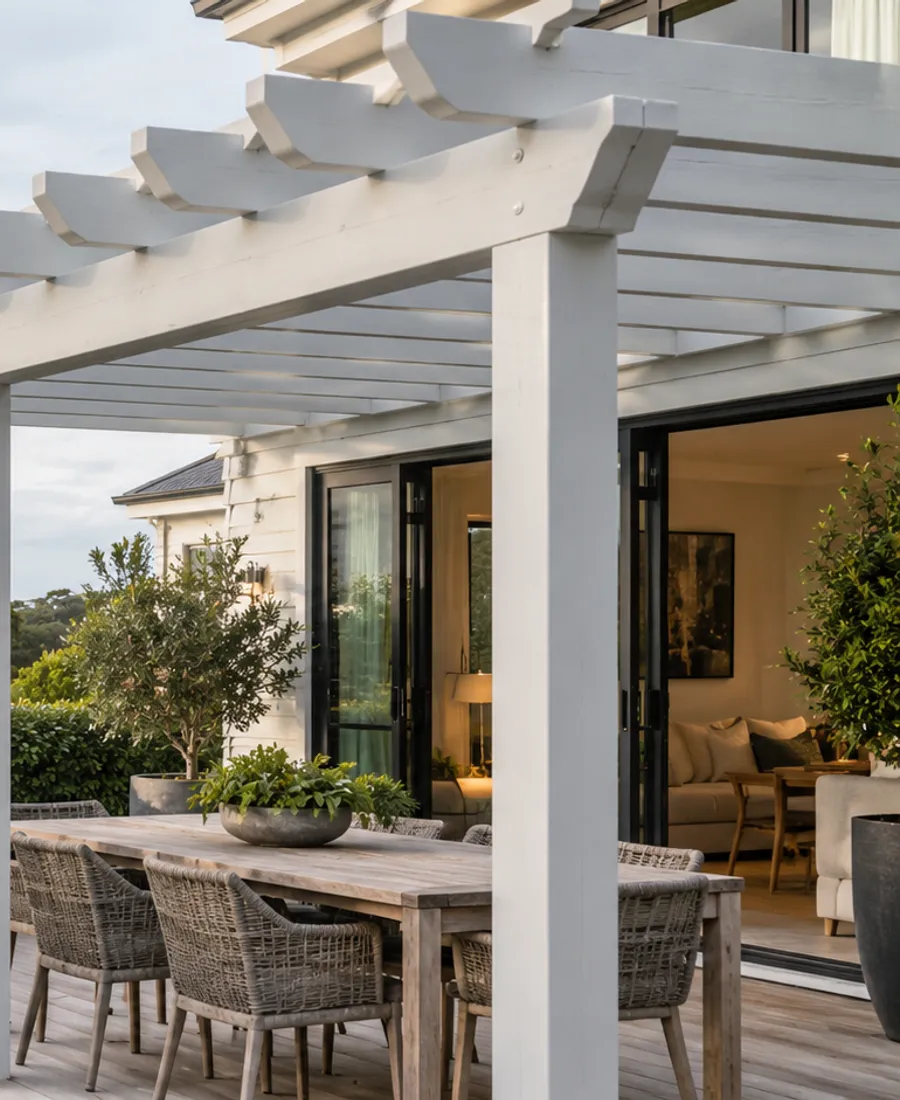
Working overhead
Reaching beams and rafters means ladders or a platform in your garden. Ask what access is planned, and keep furniture and children clear of the work zone.
Auckland Roof Painting Pros
Thoughtful preparation. A considered finish. Start with a conversation about your property.
Start with the surface
Our Auckland Pergola Painting service starts with the property and the surfaces involved. For pergola painting, the important considerations include overhead timber, exposed end grain and access around planting. Understanding the existing material, coating and condition helps define the right preparation before a finish is selected. Tell us about visible wear, previous work and any areas that need particular attention.
A useful proposal should set out the surfaces included, preparation, any agreed repairs, the coating system and access arrangements. Timing also needs to allow for suitable application and drying conditions. Share your address, photographs and preferred timing through the enquiry form, or call to discuss the project. We can then clarify the details that need assessment and the next step for your property.
Above eye level
A pergola is mostly top and edges. These are the parts of the job people forget to ask about.
Reaching beams and rafters means ladders or a platform in your garden. Ask what access is planned, and keep furniture and children clear of the work zone.
Cut ends of beams and rafters take in water fastest. Ask how they will be sealed and primed, not simply painted over.
Vines hold moisture against timber and hide damage. Agree what is cut back, tied away or removed, and who does it.
Sun and rain hit the top; the underside is what you see. Ask whether both faces are included in the quote.
An existing finish decides the preparation. Tell the painter what you know and expect a test patch to be suggested.
Parts to list
A quote that lists the parts is easier to compare than one that just says pergola. Most pergolas break down into the same few groups.
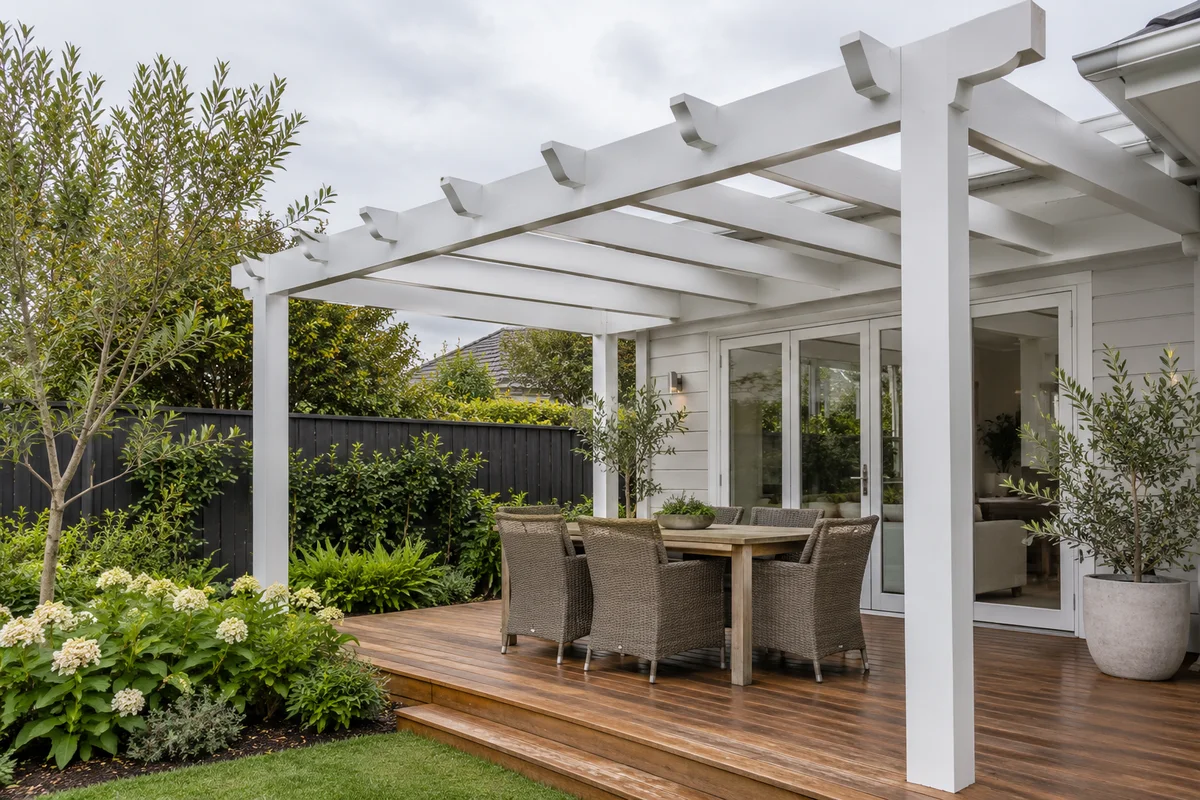
Posts meet soil, paving and splashback at the base. Ask whether the lowest section and its fixings are checked for softness.
The long members take the most sun and rain. Their joints and ends are worth listing as separate details.
Slats and lattice add many edges. The number and spacing change how much surface needs coating, so ask how it is counted.
Metal brackets and bolts rust and stain timber. Rust is noted for repair; fixings to the house wall need careful cutting in.
Garden structures
Pergolas share colours, timber and weather with the deck, fence and walls beside them.
The deck beneath is often the same timber and gets drips from the beams above, so the two jobs are best sequenced together.
Fence and pergola colours are usually judged together, and both involve cut-back and protection around planting.
A pergola attached to the house meets wall cladding at its fixings, which need careful cutting in.
Pergola colours should sit well with walls, roof and joinery, which the exterior plan sets out.
Weathered stain or flaking paint on overhead timber can need removal before anything bonds to it.
Matching the house
A pergola often ties the house to the garden, so its colour sits between walls, roof, deck and fence. Looking at all of them together stops it feeling like an afterthought, whether you want it to blend in or stand out.
Existing finishes shape what is possible. A tired stain may need cleaning back before a colour change, and darker colours can show weathering differently from pale ones. Ask for a sample on the actual timber, seen in sun and in shade.
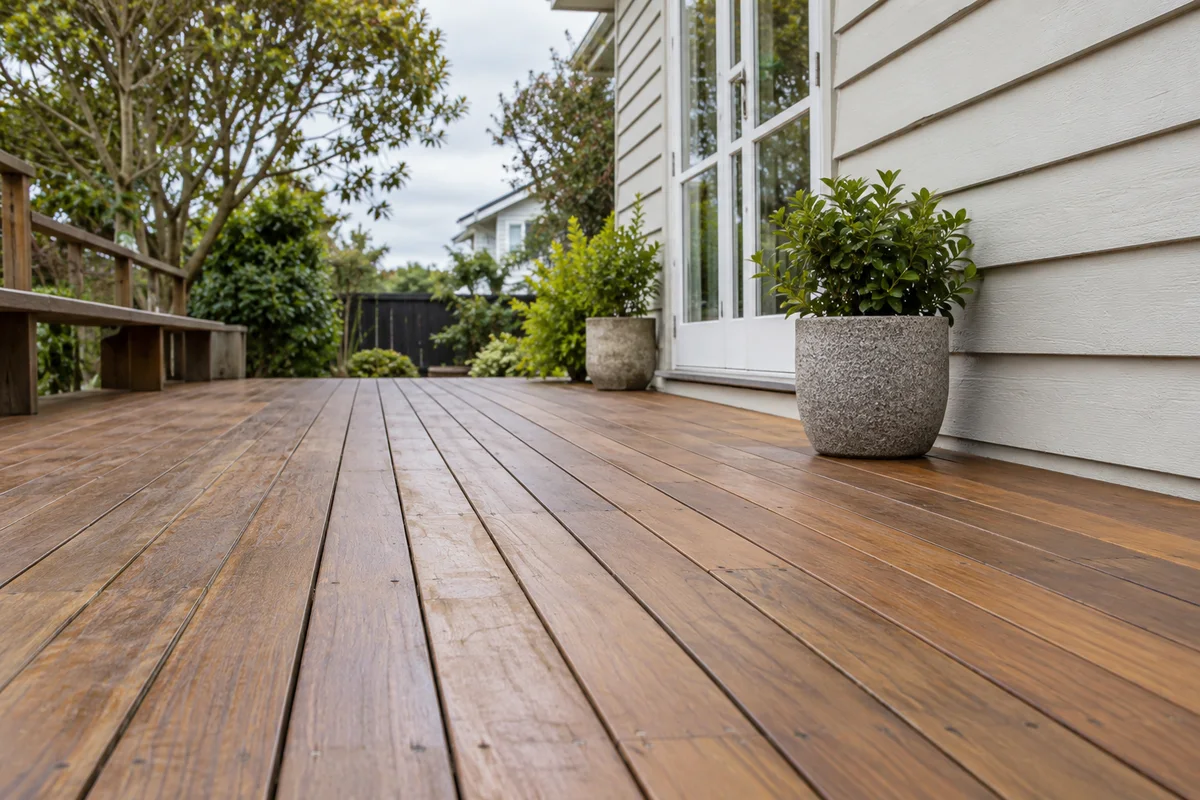
Paint or stain
Both can suit overhead timber. They age differently, so the choice affects how the pergola is maintained.
Neither suits every pergola. The existing finish, the timber and how much sun the beams get decide it, so ask for both options to be explained.
Pergola enquiries
Describe the structure, roughly how high it stands and what grows over it. A few photos from the ground help us picture the timber and the access.
Below the beams
Drips, dust and flakes fall straight down, which makes everything under a pergola part of the job. Agree what is moved, what is covered and what is simply too delicate to leave in place before the first ladder goes up.
Plan the access with usTables, chairs and cushions are moved clear or sheeted over, since flakes and drips travel further than you expect.
Plants under the beams are covered or relocated, and cut-back is agreed in advance rather than improvised.
Paving, sliding doors and glass near the structure are masked, with a plan for cleaning up at the end of each day.
Pergola enquiry
Tell us how it is attached, what finish is on it now and whether climbers grow over it. Photos from the ground and your address are enough to start the conversation.