

Grease near the hob
Cooking vapour leaves a film on doors and range hood surrounds. It stops paint gripping, so degreasing is a proper stage, not a quick wipe.
Auckland Roof Painting Pros
Thoughtful preparation. A considered finish. Start with a conversation about your property.
Start with the surface
Our Auckland Kitchen Cabinet Painting & Refinishing service starts with the property and the surfaces involved. For kitchen cabinet painting & refinishing, the important considerations include cabinet substrates, grease removal and durable joinery finishes. Understanding the existing material, coating and condition helps define the right preparation before a finish is selected. Tell us about visible wear, previous work and any areas that need particular attention.
A useful proposal should set out the surfaces included, preparation, any agreed repairs, the coating system and access arrangements. Timing also needs to allow for suitable application and drying conditions. Share your address, photographs and preferred timing through the enquiry form, or call to discuss the project. We can then clarify the details that need assessment and the next step for your property.
Cabinet preparation
Kitchen doors collect a film you cannot see that stops paint gripping. These are the spots that need attention first.
Cooking vapour leaves a film on doors and range hood surrounds. It stops paint gripping, so degreasing is a proper stage, not a quick wipe.
Skin oils build up where doors are opened. These zones get extra cleaning attention before any priming.
Edges chip first and show swelling first. Damaged or swollen sections are repaired, or the door is replaced rather than coated.
Moisture around the sink and dishwasher can lift old finishes and swell panels. Check these cabinets before anyone commits to refinishing.
Drawer boxes and inner faces are often left alone. Say whether interiors are included, and who empties them beforehand.
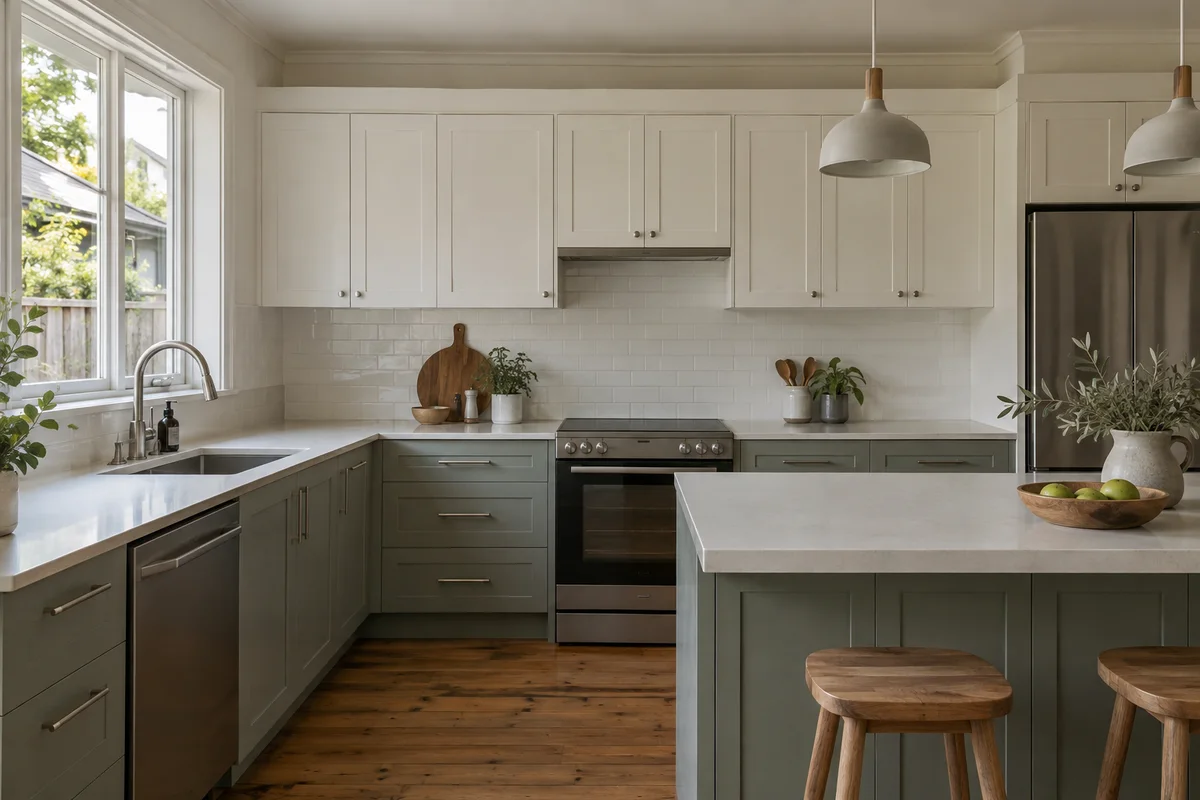
Cabinet substrates
The material under the old finish decides how it is prepared. A close-up photo of a door edge usually tells the story.
Solid timber takes paint well when it is sound, but grain can show through and old finishes still need dealing with. Splits at panel joins are repaired before coating.
Veneer is a thin timber layer over a board. Heavy sanding can cut through it and swollen edges are a warning sign, so ask how the painter will check yours.
A smooth, plastic-faced surface gives paint little to hold. Ask which bonding primer is proposed and request a test door before the full job is committed.
Old paint may be sound, flaking or an unknown type. The painter should find out how it will react to the new system before recoating anything.
Hardware and reassembly
Taking a kitchen apart for painting is easier when the decisions are made beforehand.
Joinery next door
Kitchens rarely have just cabinets. The surfaces around them affect how clean the finished edges look.
Doors into the kitchen and pantry are often repainted to match the cabinet colour and sheen.
Skirtings and architraves beside the cabinets need their own preparation to give crisp lines.
Walls and ceilings are best coordinated with the new cabinet colour and sheen, and painted in a sensible order.
Gaps where cabinet sides meet walls and ceilings are filled for a clean, finished line.
Cabinet colour has to sit beside benchtops, splashback and floor, which you are not changing.
Kitchen close-ups
The unglamorous stages that decide how the finished kitchen holds up.
Doors off, labelled and ready for coating
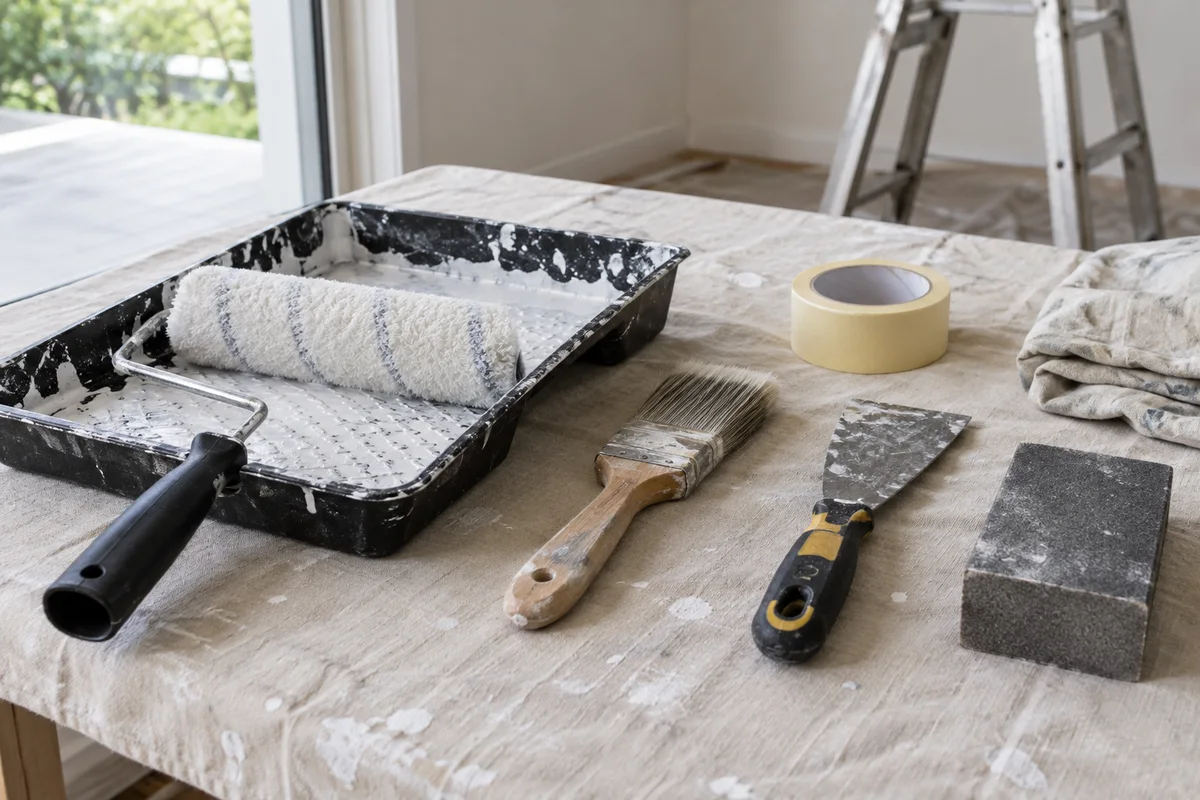
Hinges and handles bagged with their own doors
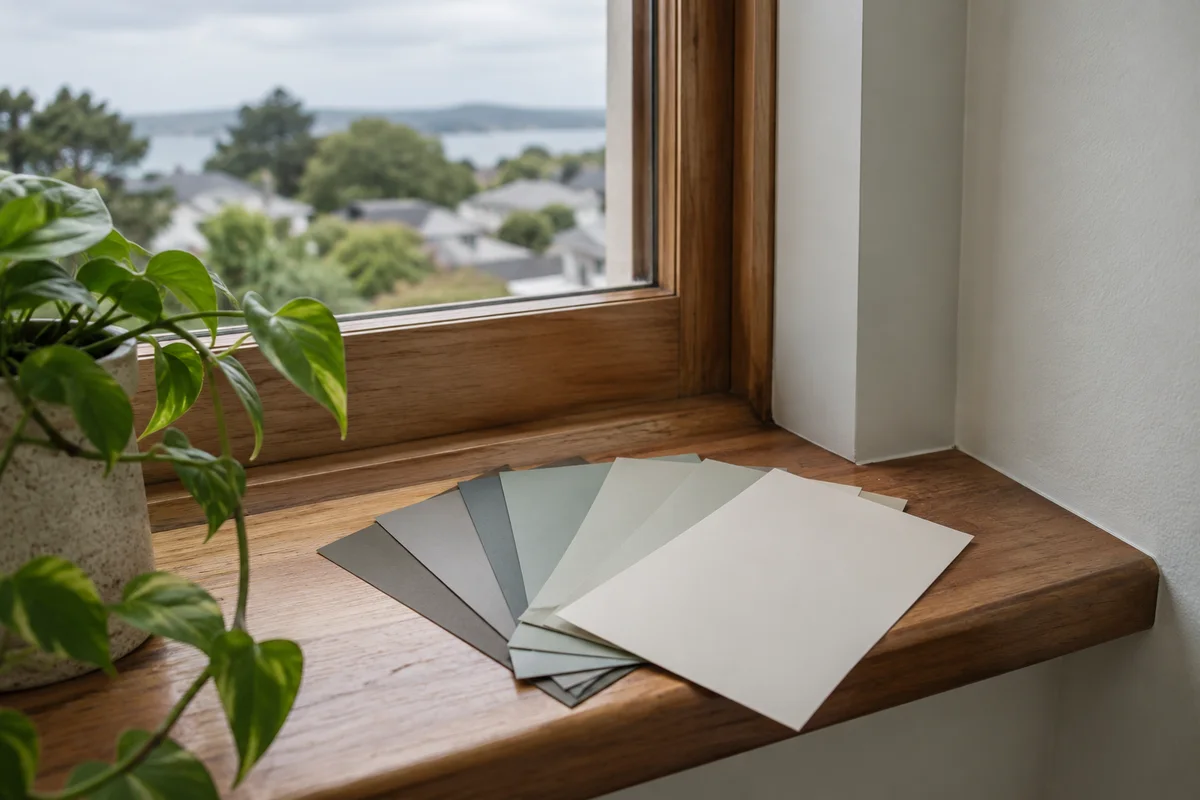
Colour and sheen tested on a sample door
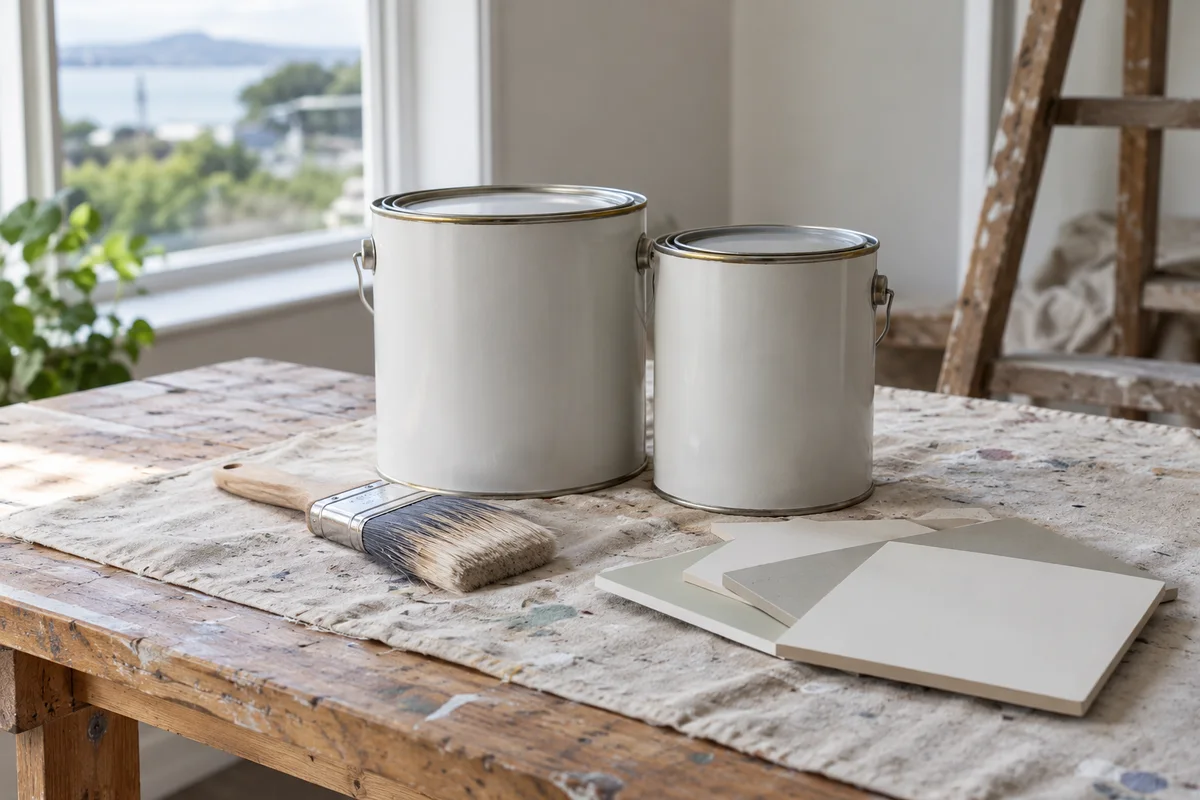
Primer and topcoat noted for later touch-ups
Cabinet enquiry
Send photos of the doors, drawers and edges, plus any damage near the hob and sink. Tell us whether you are keeping the hardware, and we can talk through what your cabinets may need.