
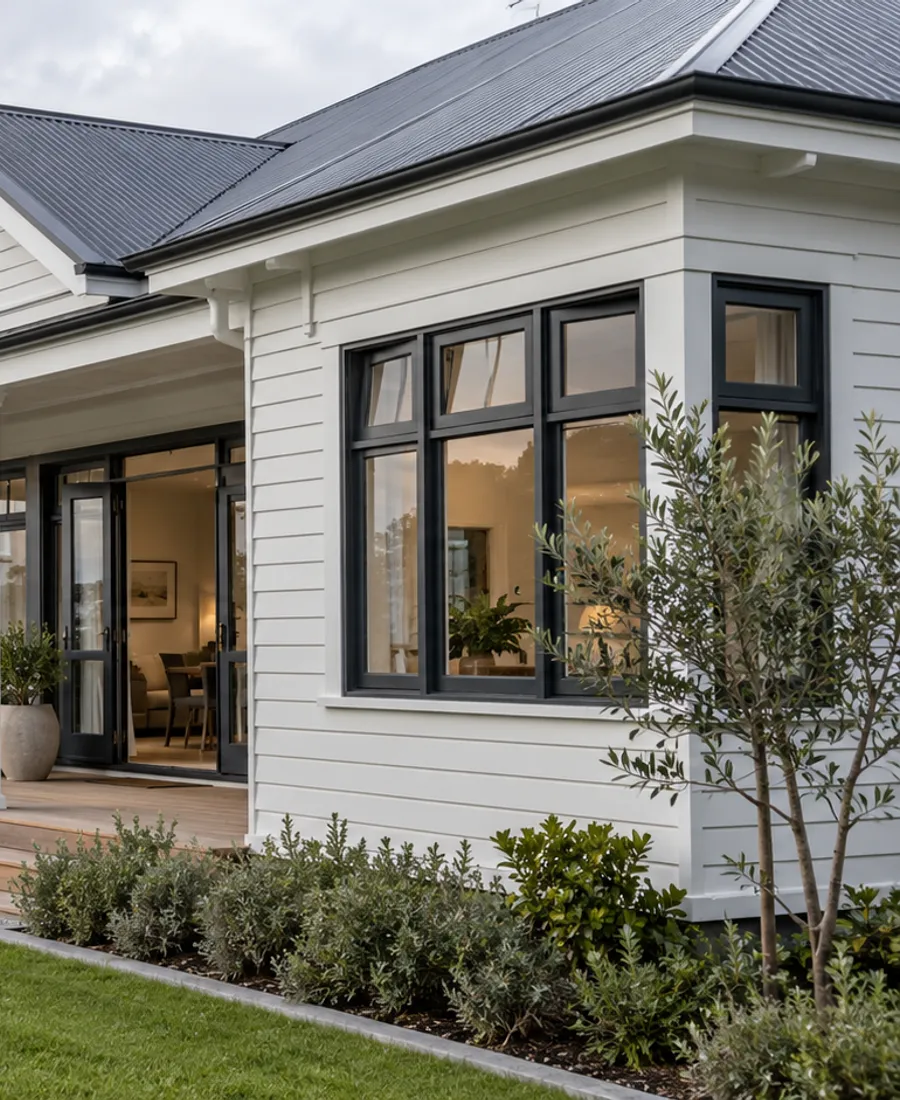
The sunny face
Strong sun can fade colour, chalk the surface and open fine cracks. Ask how a weathered coating will be assessed before it is recoated.
Auckland Roof Painting Pros
Thoughtful preparation. A considered finish. Start with a conversation about your property.
Start with the surface
Our Auckland Exterior House Painting service starts with the property and the surfaces involved. For exterior house painting, the important considerations include cladding condition, exposed timber, coating adhesion and safe access. Understanding the existing material, coating and condition helps define the right preparation before a finish is selected. Tell us about visible wear, previous work and any areas that need particular attention.
A useful proposal should set out the surfaces included, preparation, any agreed repairs, the coating system and access arrangements. Timing also needs to allow for suitable application and drying conditions. Share your address, photographs and preferred timing through the enquiry form, or call to discuss the project. We can then clarify the details that need assessment and the next step for your property.
Weather exposure
One house, four faces, four different histories. Walk each one before you judge the whole.
Strong sun can fade colour, chalk the surface and open fine cracks. Ask how a weathered coating will be assessed before it is recoated.
Walls that rarely see sun stay damp longer, so algae and mould show first. Cleaning has to come before painting, and the cause may be planting or poor drainage.
The side facing wind and driving rain takes the hardest beating, and near the coast, salt too. It often needs the most attention.
Rain bounces up from paths, decks and soil and stains the lowest boards. Check wall bases and anywhere cladding meets the ground.
Window and door surrounds are where water finds a way in. Look for open joints, soft timber and cracked sealant before painting around them.
Surface first
Most exterior failures start under the topcoat: dirt, loose paint, soft timber, open joints. Time spent on cleaning and cladding repair decides how the finish looks later far more than the colour does.
Read about surface preparationExterior surfaces
An exterior scope is more than walls. Naming each part stops surprises on the quote.
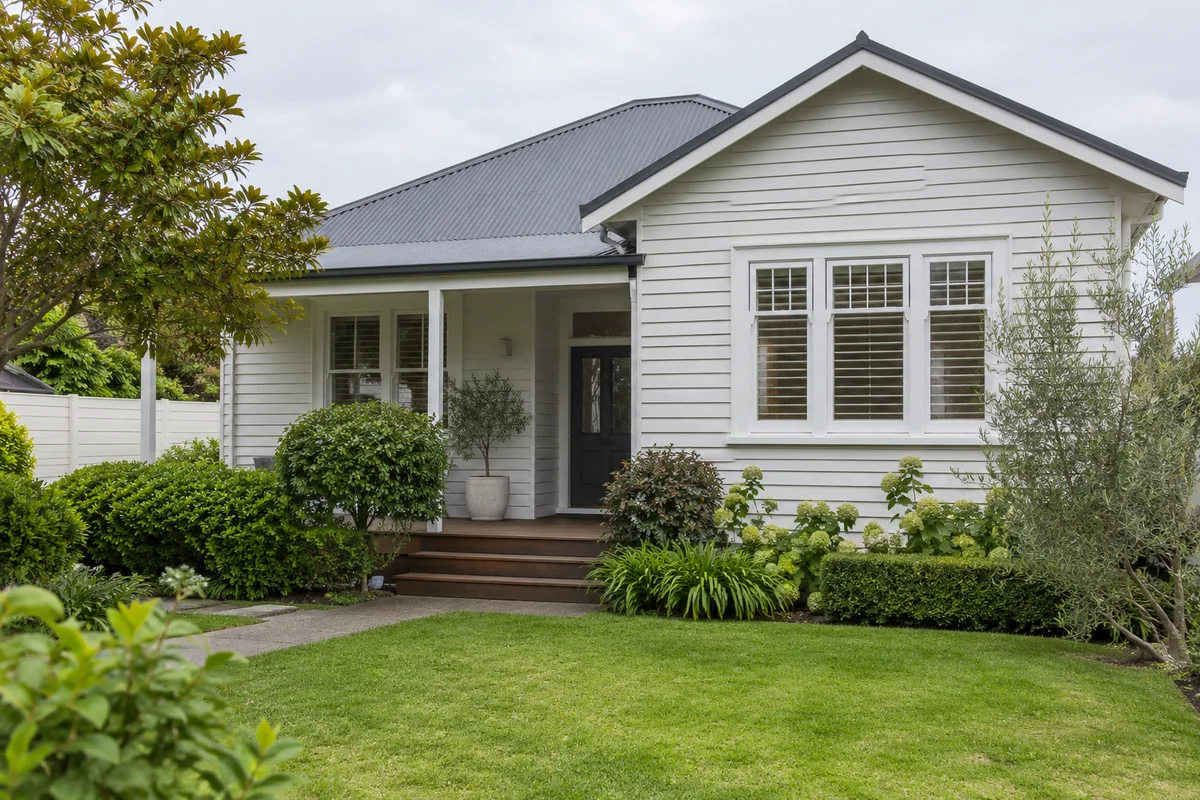
The main wall surface, whatever it is made of. Note where boards are cracked, nails are rusting or old paint is lifting.
High, sheltered edges that still stain and peel. Confirm whether they are included, and how they will be reached.
Window frames, sills, door frames and reveals. They take knocks and moisture, and their condition affects the wall around them.
Where cladding meets paths, decks and corners. Gaps and splash staining here are early signs of water getting into the wall.
Work sequence
The order matters outside, because each stage depends on the one before it and on the weather.
Dirt, algae and chalky residue stop paint from gripping. Washing also shows the real condition of the cladding once the grime is gone.
Loose paint comes off, damaged boards and joints are repaired, and bare patches are primed so the topcoat does not soak in unevenly.
Windows, hardware, paths and garden beds are covered or protected. Ask what is used for cover and when it comes off.
Coats go on when surfaces are dry and rain is not forecast, which means days can shift. Agree how delays will be passed on to you.
A final check in daylight from the ground picks up missed edges, runs and drips while access equipment is still up.
Access decision
Work at height is a job for the painters, not the owner. The useful question is which method is planned for each wall.
Ask which access method is planned for each elevation, whether it is included in the quote, and what happens if the first choice does not suit the site.
Outside preparation
A slow walk around the house before painters arrive makes the job smoother for everyone.
Cladding pages
The wall material decides the preparation. These pages go further on each one.
Boards, joints and bottom edges behave differently from flat cladding, and the preparation reflects it.
Masonry holds moisture differently from timber, which affects primer choice and whether painting is the right option at all.
Covers how loose and failing coatings are dealt with before anything new goes on.
Fascia, soffits and window surrounds take their own preparation and often a different sheen.
Sashes and frames are the most exposed joinery on the elevation, and the first place water gets in.
The roof sits in the same view as the walls, so its colour and timing affect the exterior scope.
Outside brief
Take photos from the ground of each elevation, plus close-ups of peeling, stains and tight access. Add your address and number of storeys, and please stay off ladders and roofs.