Auckland Roof Painting Pros

Auckland Paint Stripping & Surface Preparation

Thoughtful preparation. A considered finish. Start with a conversation about your property.

Start with the surface

Paint Stripping & Surface Preparation in Auckland

Our Auckland Paint Stripping & Surface Preparation service starts with the property and the surfaces involved. For paint stripping & surface preparation, the important considerations include failed coatings, substrate protection and assessment before disturbance. Understanding the existing material, coating and condition helps define the right preparation before a finish is selected. Tell us about visible wear, previous work and any areas that need particular attention.

A useful proposal should set out the surfaces included, preparation, any agreed repairs, the coating system and access arrangements. Timing also needs to allow for suitable application and drying conditions. Share your address, photographs and preferred timing through the enquiry form, or call to discuss the project. We can then clarify the details that need assessment and the next step for your property.

Removal decision

Strip it all or feather and recoat?

Not every failing finish needs to come off completely. The right answer depends on how widespread the failure is and what is underneath.

Strip back to the surface

  • Suits finishes that are failing across large areas or have built up into thick, cracked layers.
  • Gives a clean base, but takes longer and demands more care around the substrate.
  • Aggressive methods can gouge timber, scar masonry or scratch metal.
  • Residue and removed material need to be handled and disposed of properly.
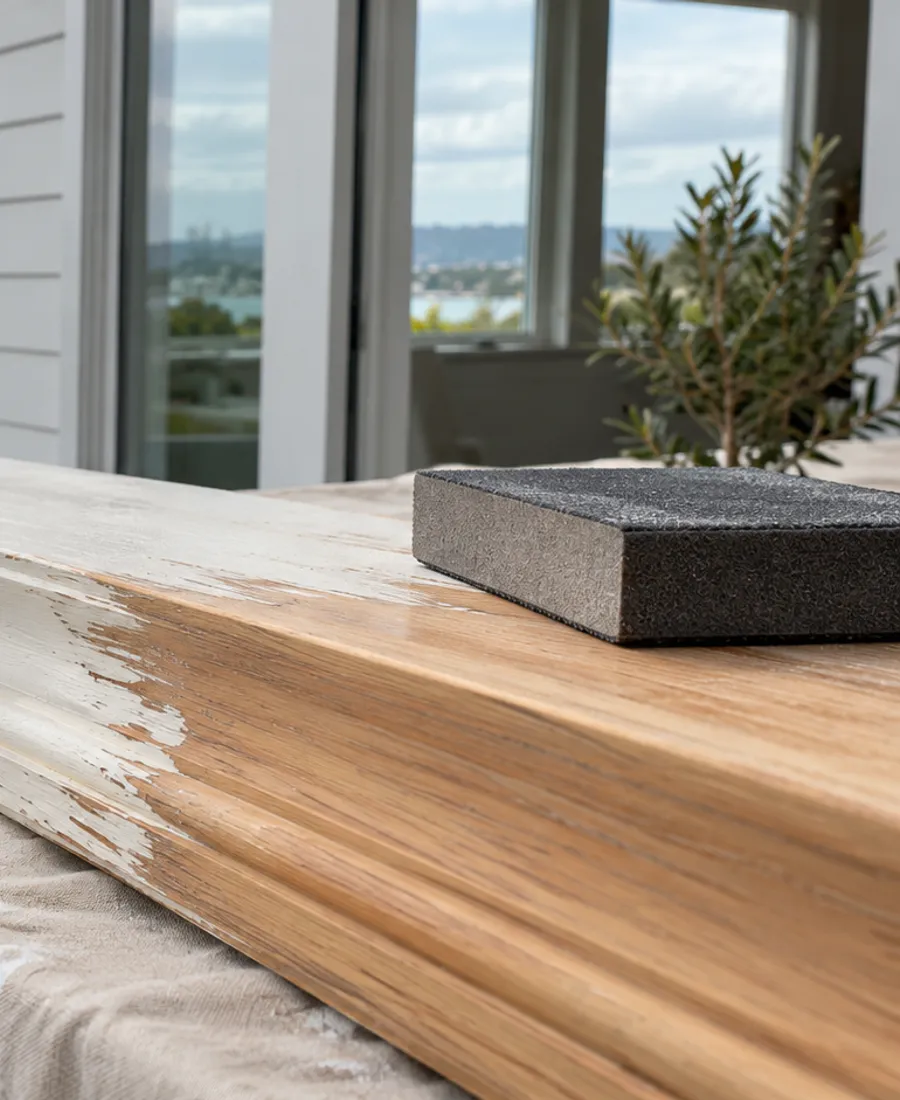
Scrape, sand and recoat

  • Suits finishes that are mostly sound with isolated flaking or peeling.
  • Leaves good coating in place and protects the surface beneath.
  • Loose edges are removed and smoothed so they do not show through the new coat.
  • If the failure comes back quickly, the underlying cause was probably not fixed.

Where the old coating still holds, removing all of it adds risk without benefit. Where it is failing widely, painting over it only hides the problem for a while.

Stripping sequence

From failed coating to stable surface

Removal is a middle step, not the whole job. These are the stages a sensible scope will name.

Before

Cause and coating assessed

Peeling, chalking and blistering have different causes. The coating is also assessed, particularly if the building is older, before any dust is created.

During

Removal matched to the material

Timber, metal and masonry respond differently to scraping, heat, chemicals and abrasion. The gentlest method that works is the right one.

After

Edges smoothed and bare areas primed

Remaining paint is feathered at the edges, dust and residue are cleaned away, and exposed surface is sealed with a compatible primer.

Preparation principle

A surface is ready when it is stable and clean, not merely when it is bare.

Removing paint is only worth doing if what remains will hold the next coat. Edges that lift, damp patches and leftover residue all undo the effort.

Paint-ready surface

Ready for paint means all of these

Before a primer goes on, a surface should meet each of these. Ask to see them confirmed.

  • The surface is clean, free of dust, grease, mould and loose residue.
  • Remaining paint is firm, with edges smoothed so they will not lift or show through.
  • The cause of any moisture has been found and dealt with, and the surface is dry.
  • Bare timber, metal, masonry or plaster is sealed or primed with a compatible product.
  • Cracks, holes and gouges are filled and sanded flush with the surface around them.
  • Glass, hardware, paths and gardens are protected from stripping debris and residue.
  • The products used are recorded, so the next coat is compatible with what is underneath.

Coating layers

Reading the layers of an old finish

An old finish is a stack of layers, and failure usually starts at one of them. Reading the stack shows what has to come off.

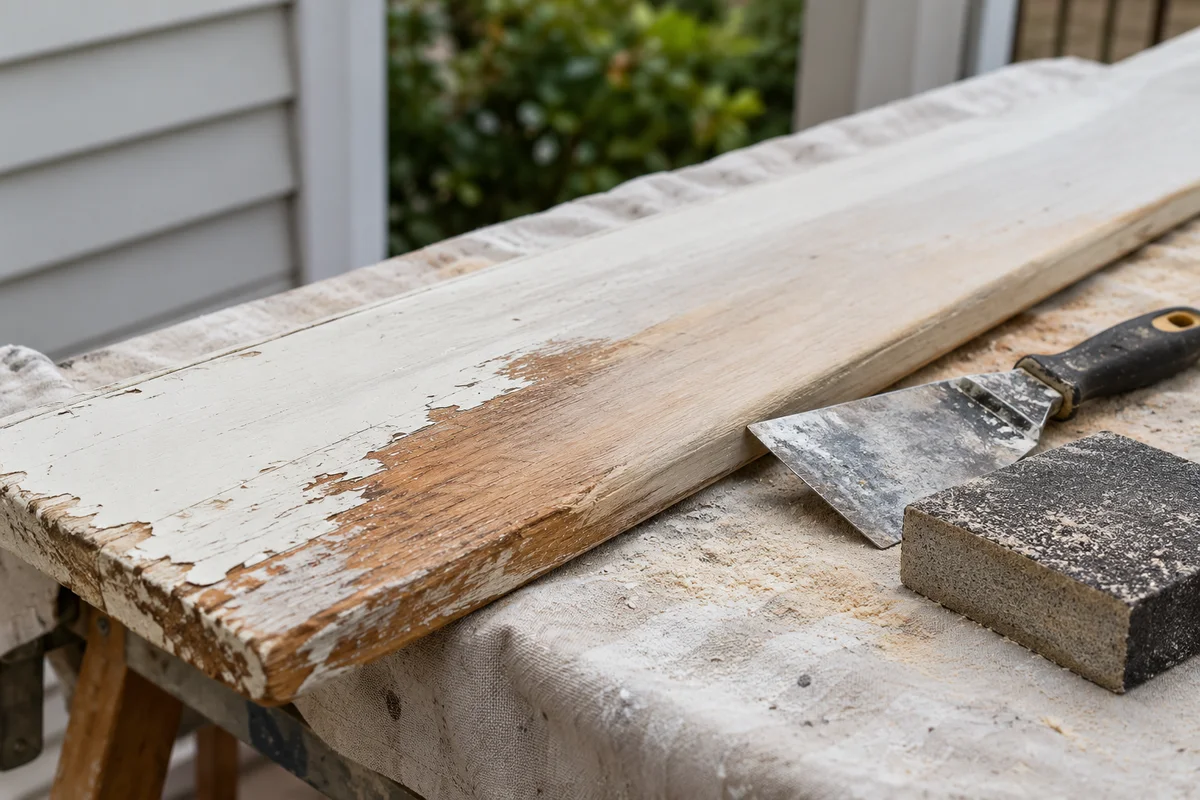
Close view of an old painted timber board on a protected workbench with a carefully feathered sanded edge

The topcoat

The visible colour. Chalking, fading and cracking here point to weather exposure rather than adhesion.

Earlier coats and primer

Older layers may be a different type of paint, and each one affects what the next coat will stick to.

The substrate

Timber, metal, masonry or plaster. This is what stripping must protect, and each reacts differently to removal.

The failure edge

Where sound paint stops and lifting paint begins. Edges that are not smoothed will show through the new finish.

Failing paint

Describe the paint that is failing

Say where it is peeling, how old the building is, what the surface is made from and whether it has been painted before. Photos taken from a safe position help us assess the next step.