
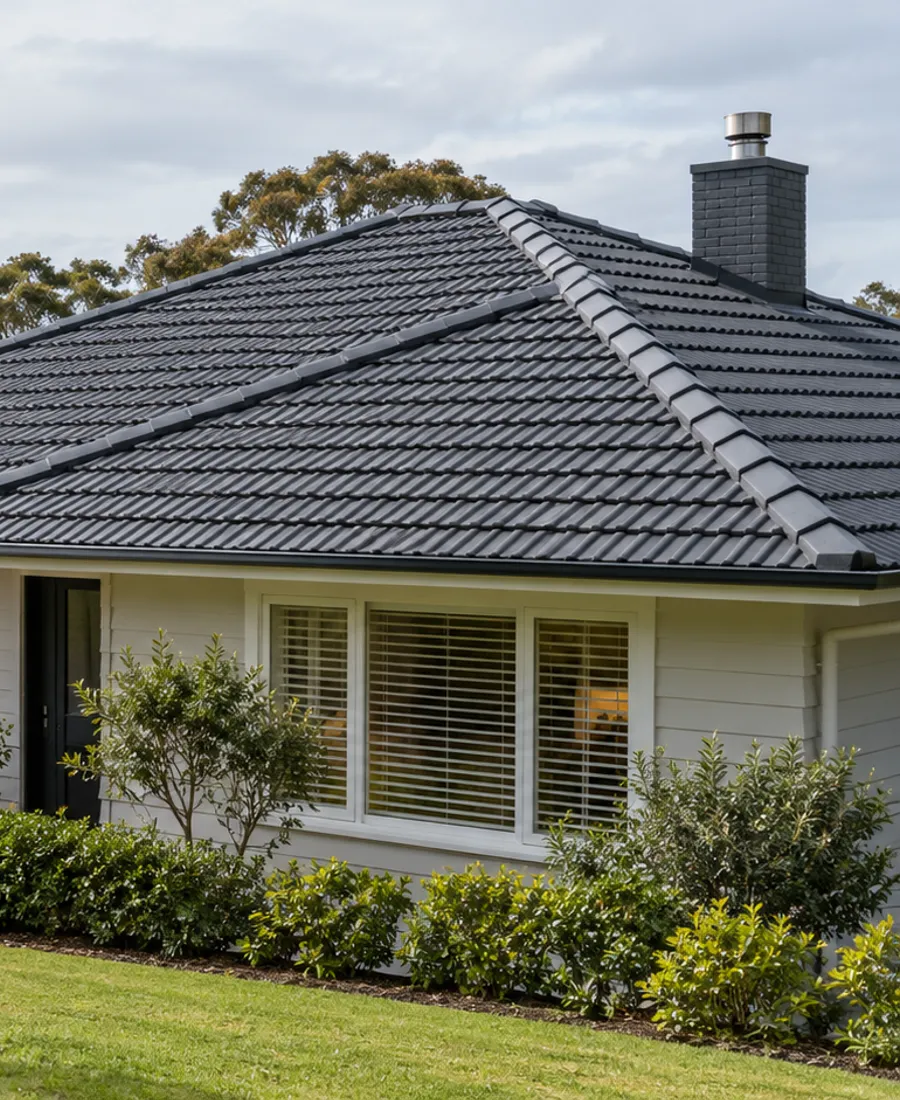
One face weathered harder
A slope that looks duller or chalkier than the rest has taken more weather. Photograph each face from the same distance so the difference is clear.
Auckland / North Shore
Thoughtful preparation. A considered finish. Start with a conversation about your property.
Start with the surface
Planning Roof Painting Northcote Point starts with understanding your own roof rather than choosing a colour alone. Metal and concrete tile surfaces can need different preparation, and the existing coating, visible wear and repair history all matter. Tell us whether the roof is fading, flaking or showing signs of damage so the enquiry can focus on the work your property needs.
For a home, rental or shared building in Northcote Point, access and approval arrangements are part of the conversation. Include the number of storeys, any shared driveway or body corporate requirements, and photographs taken safely from the ground. Preparation, repair needs and a compatible coating system should be clear before work is agreed. Use the form to describe your roof, or call to discuss an assessment and a practical next step.
Exposure signs
Exposed faces tend to show wear before sheltered ones. Look from the ground, in daylight, and photograph anything that stands out.
A slope that looks duller or chalkier than the rest has taken more weather. Photograph each face from the same distance so the difference is clear.
Small domes in the coating can mean moisture or poor adhesion underneath. A photograph taken in low side light shows them best.
Staining that runs down from a junction, bracket or decorative feature suggests water is tracking where it should not.
Peeling paint, dark patches or soft-looking wood on fascias and eaves is worth noting. Timber problems come before any roof coating.
Character first
Hold samples against the cladding, joinery and trim, and look at them in morning and afternoon light. A colour that reads well on a swatch can look heavy or flat next to old timber. Take your time over it. The roof is one of the largest areas of colour on the building.
Colour consultation for older homes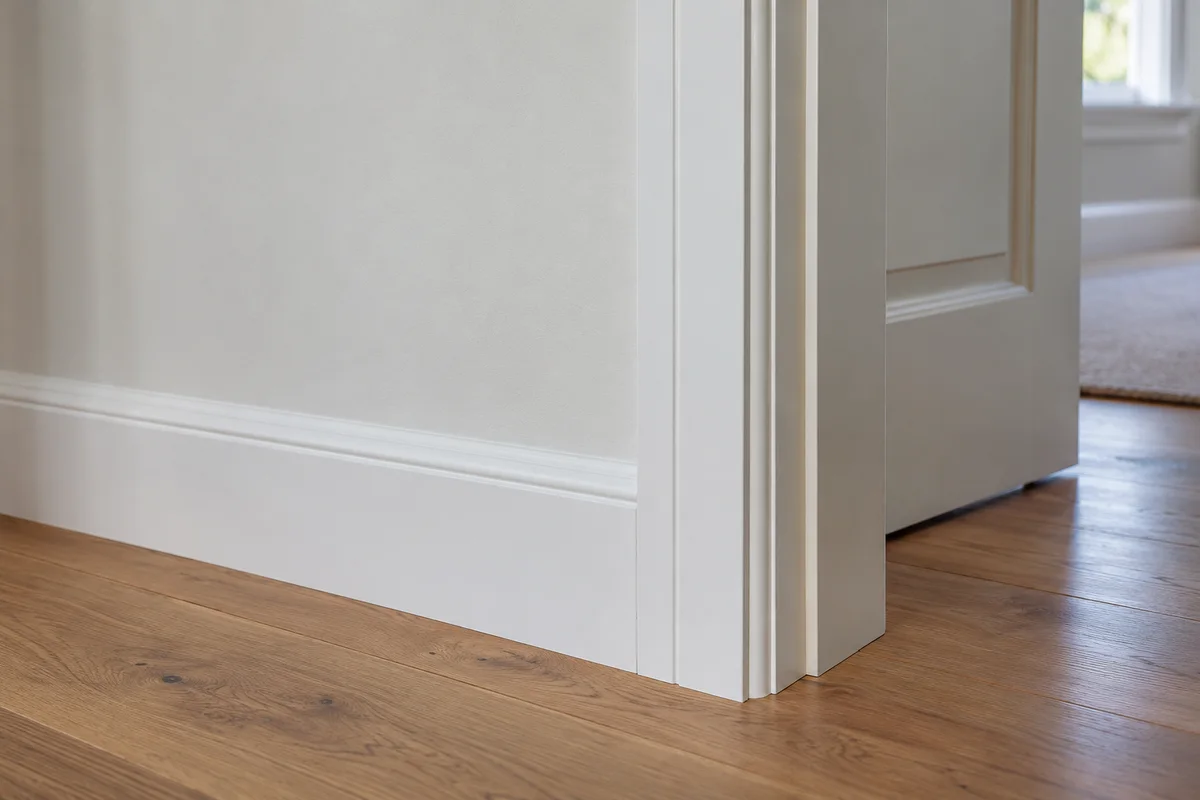
Roof-edge details
Older, character-rich homes often have features right at the roof edge: verandas, brackets, fretwork and narrow eaves. They are seen up close, they sit near gutters and run-off, and there is limited space to work around them. A good scope names each one and says how it will be masked, cleaned or left alone.
Colour sign-off
A few small checks now save second thoughts once the roof is finished.
Around Northcote Point
Suburbs with a similar character, and the services that come up when an older roof is being refreshed.
An older harbour-side suburb of villas and bungalows with steep streets and mature trees; compare how access and tree cover change a scope.
A peninsula village with many older villas and bungalows, sea on several sides and older coatings.
Upper-harbour residential with some exposed sections; its page looks at how condition varies across one roof.
Primer, topcoat and sheen need to suit the surface once the colour is settled.
Verandas and decorative edges are trim work as much as roof work; this covers clean junctions and careful cutting in.
If edge wear or rust turns up, this explains why repairs come before a recoat.
Repair or recoat
On an older roof with aged colour, a small repair and a whole-roof recoat lead to different results.
Isolated damage may justify repair alone. Wear spread across the exposed faces points towards a recoat. Ask for a written assessment that describes each face before deciding.
Safe photographs
A character home rewards a patient walk around the outside. Stand back across the road or at the far end of the garden and take one wide shot of each face. Then zoom in on details: a veranda edge, a bracket, a rusted fixing, a lifted patch.
Keep your feet on the ground for every picture. A clear photograph from below is more useful than a blurry one from a ladder, and it keeps you safe. Note the date and which side of the house each shot shows.

Northcote Point enquiries
Send street-side photographs of the whole house, close views of any edge wear and a note of the details you want protected. We can then talk through what needs assessing.