
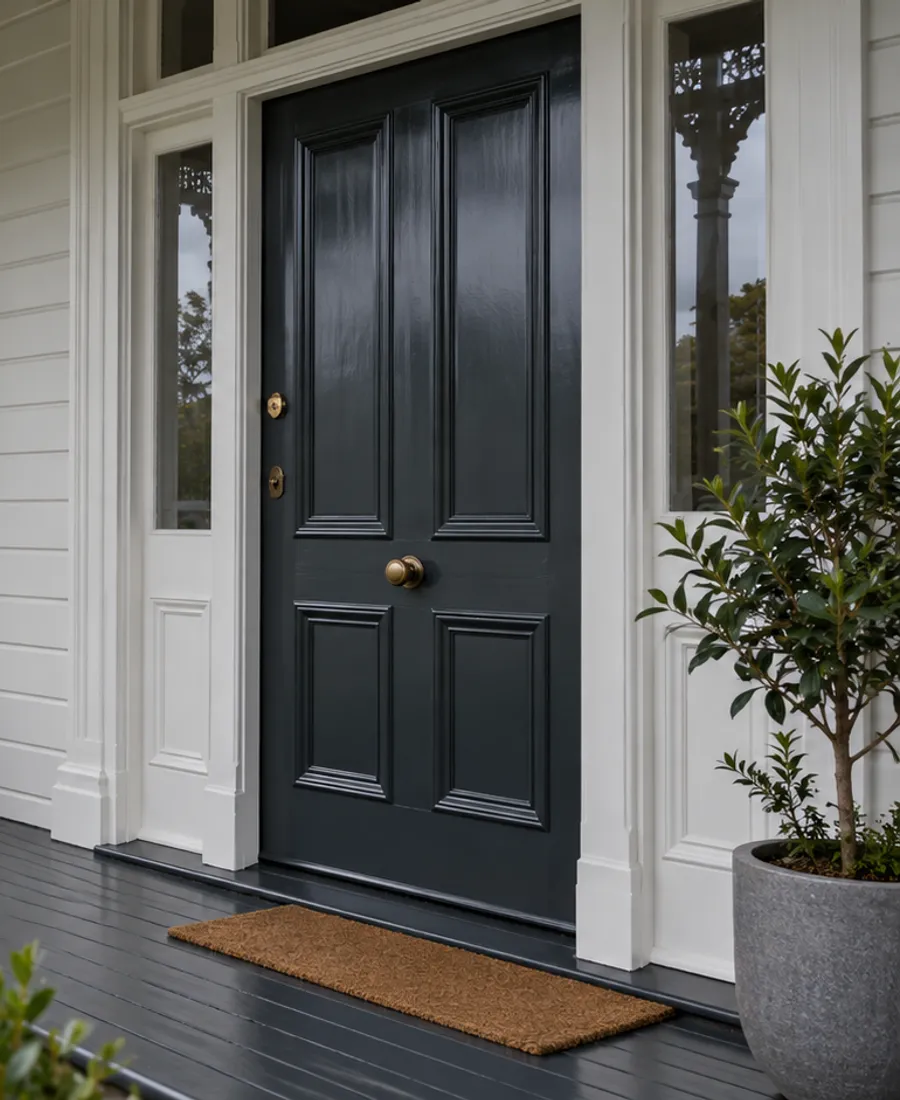
The latch edge
Takes the knocks, the handle wear and the rub against the strike plate. Chipped paint here is usually the first sign a door needs attention.
Auckland Roof Painting Pros
Thoughtful preparation. A considered finish. Start with a conversation about your property.
Start with the surface
Our Auckland Door Painting service starts with the property and the surfaces involved. For door painting, the important considerations include door materials, moving edges and hardware protection. Understanding the existing material, coating and condition helps define the right preparation before a finish is selected. Tell us about visible wear, previous work and any areas that need particular attention.
A useful proposal should set out the surfaces included, preparation, any agreed repairs, the coating system and access arrangements. Timing also needs to allow for suitable application and drying conditions. Share your address, photographs and preferred timing through the enquiry form, or call to discuss the project. We can then clarify the details that need assessment and the next step for your property.
Moving edges
A door is painted on its faces but it fails on its edges. Knowing where the contact points are explains most of the preparation questions worth asking.
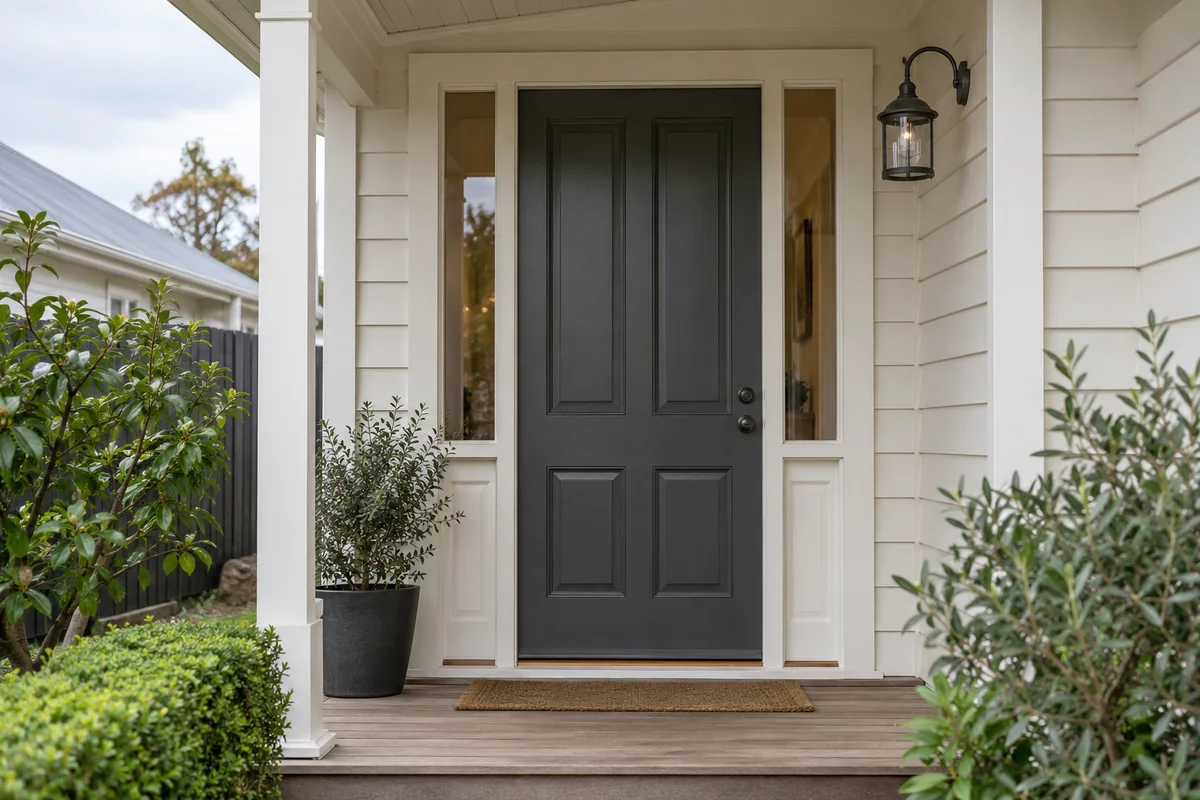
Takes the knocks, the handle wear and the rub against the strike plate. Chipped paint here is usually the first sign a door needs attention.
Paint building up in the gap between door and frame can make a door bind. Ask whether hinges are masked or the door is lifted off.
Rarely seen, easily skipped, and often bare timber. An unsealed edge can take in moisture, particularly on a door that faces the weather.
Recessed corners collect paint and show runs. A steady hand and a light touch matter more here than a heavy coat.
Hung or lifted off
Lifting an interior door off its hinges and laying it flat gives clear access to every edge, keeps drips under control and gets the hardware out of the way. It does need room to work, and each door should be marked so it returns to the opening it came from.
An entry door is a different decision. It usually stays hung so the house can be locked up, which makes the hinge side and the bottom edge harder to reach. Ask how the door will be secured while the paint dries and when it can be closed.
Door materials
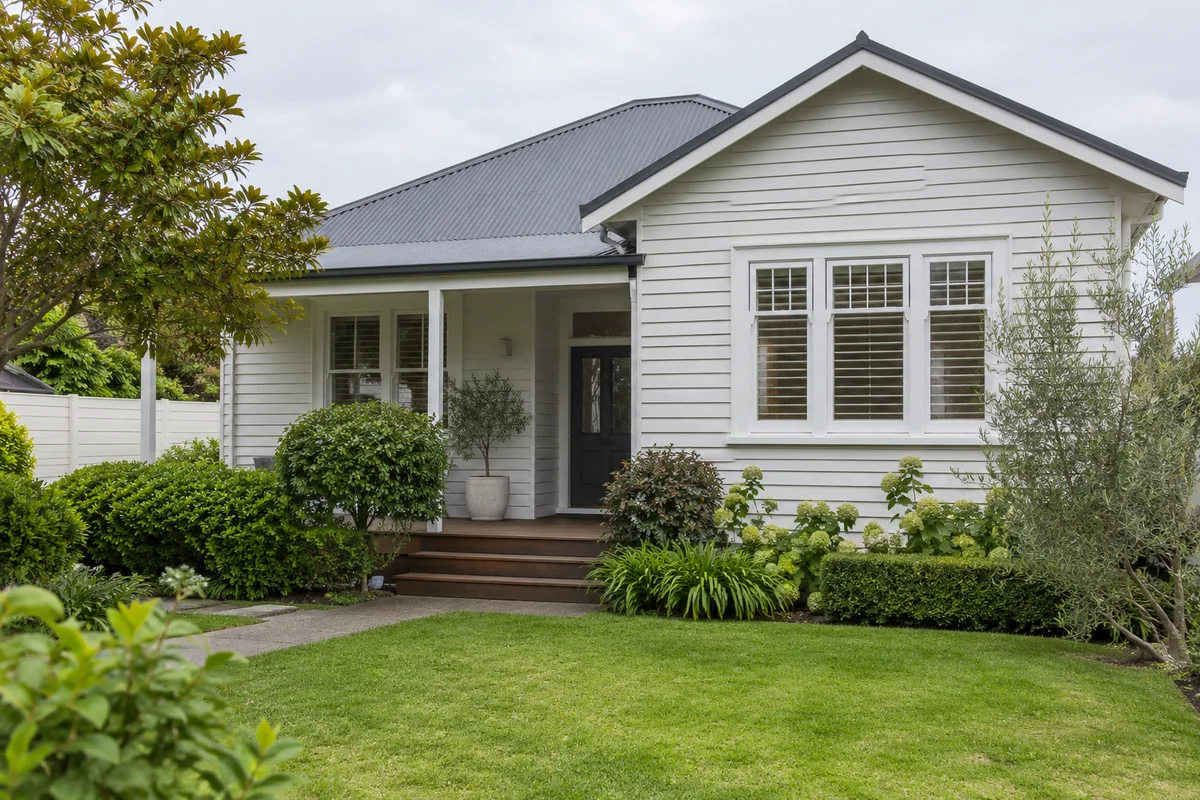
The material sets the preparation. Describe it as accurately as you can, and send a close photo of the worst edge.
Solid timber swells and shrinks with humidity, so joints can open and edges can bind. Bare or weathered patches need sealing before the topcoat, and soft or split areas may need repair first.
Many interior doors have a smooth skin over a lightweight core. Dents and scuffs show clearly on a flat face, so careful filling and light sanding matter. Heavy stripping can damage the skin.
Steel and other factory-finished doors can resist ordinary paint if the surface is not prepared for it. Ask what coating system suits the finish, and whether a small trial patch makes sense before the whole door is done.
Older doors can carry many coats. Glossy surfaces need dulling so new paint can grip, and flaking or heavy build-up may need removing back to a stable layer. Older coatings are best assessed before any sanding starts.
Interior and entry
Two doors in the same house can need very different treatment. Exposure, handling and security all change the plan.
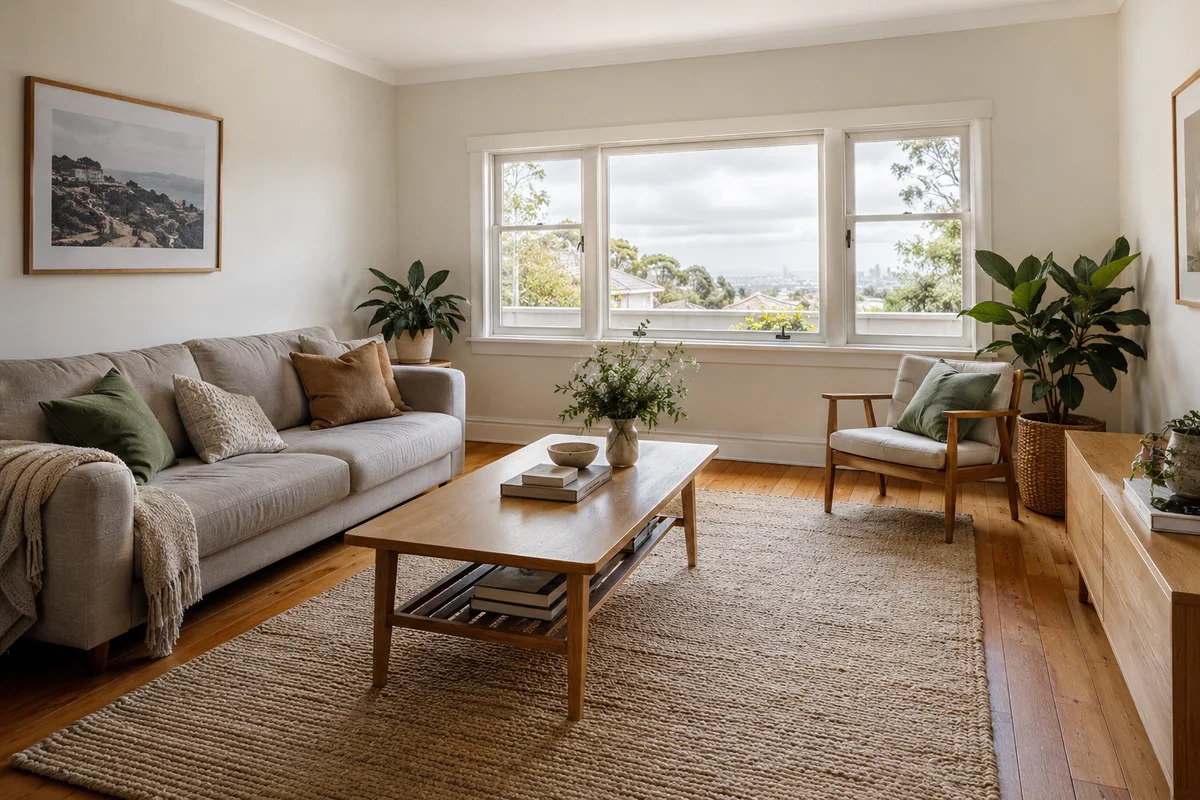
Bedroom and hallway doors take daily handling
The entry door faces sun, rain and wind
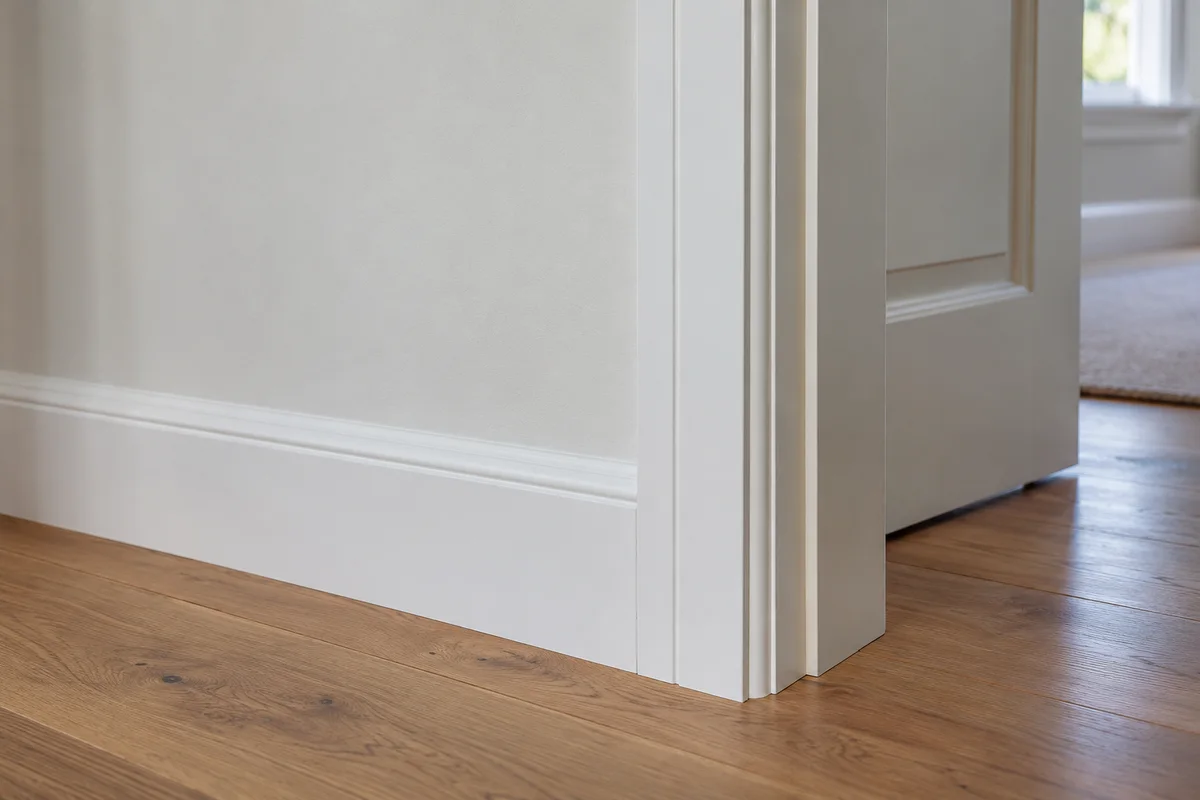
Frames and architraves beside the door get the same attention
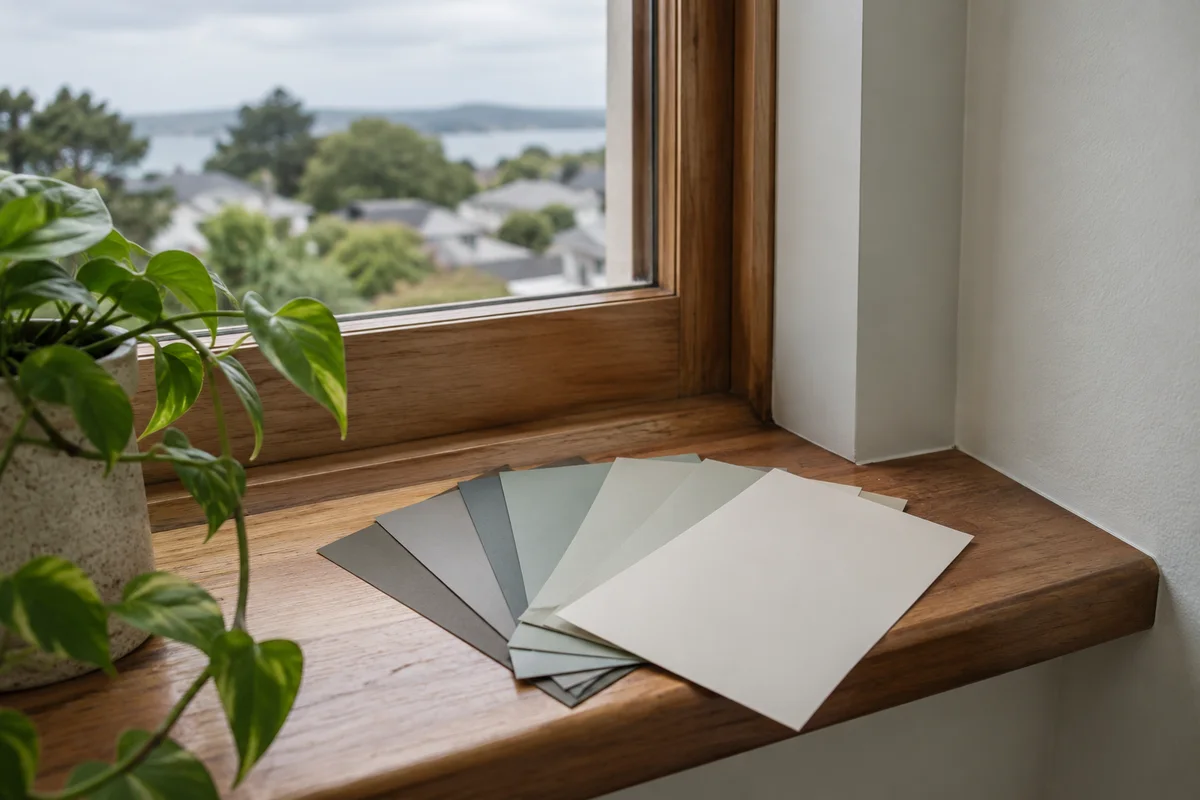
Colour samples held against the door in its own light
Hardware and fittings
Fittings are where a painted door either feels right or catches. Agree what is removed, what is masked and what is left alone.
Taking them off gives a cleaner result than masking around them. Ask who refits them, and keep the screws together in a labelled bag.
Paint in a hinge makes a door stiff or noisy. Ask whether hinges are removed, masked or painted on purpose to match the door.
A lock that sticks after painting is usually paint where it should not be. Entry locks should be protected, and tested before the job is signed off.
Paint on a rubber or brush seal can stop it working. On an entry door, ask how seals will be kept clean of coating.
Glazed doors need a tidy line where paint meets glass. Ask how the glass is protected and how the line is kept straight.
Extra coats thicken edges. If the door is already tight in its frame, ask how clearance will be checked before the door is rehung.
Beside the door
A door sits inside a frame, in a wall, next to other joinery. These pages cover the surfaces around it.
Architraves and door linings frame the door, so their sheen and colour should be decided together with it.
Windows share the same joinery colour in many homes and face the same moisture and moving-part concerns.
Doors with heavy old build-up or flaking layers may need coatings removed before they can be repainted.
Cabinet doors raise the same hinge, edge and handling questions on a smaller scale.
Doors are often scheduled alongside the walls and ceilings of the rooms they open into.
Door list for a quote
Send the number of doors, which are interior and which are entry, the material if you know it, and photos of the edges and hardware. We can then talk through what needs assessing.